Most people will tell you that learning how to start hiking is all about finding the perfect $300 technical shell or the latest ultralight titanium stove, but they’re selling you a fantasy. I’ve spent twenty-two years on these hills, and I’ve seen more people sidelined by a simple lack of daylight or a pair of flimsy trainers than by a lack of expensive gear. You don’t need a showroom full of brightly colored nylon to get moving; you need to understand that the mountain doesn’t care about your aesthetic, it only cares about your preparedness.
I’m not here to repeat a marketing brochure or tell you which brand has the prettiest logo. My promise to you is much more practical: I’m going to talk about the unglamorous, vital details that actually keep you upright and moving when the wind picks up. We’ll cover the real weight of decisions, how to read a forecast that isn’t just “sunny spells,” and the specific kit I’ve actually used in horizontal rain. This isn’t about conquering peaks; it’s about learning how to respect the terrain so you can actually enjoy it.
Table of Contents
Essential Hiking Gear for Beginners Beyond the Hype
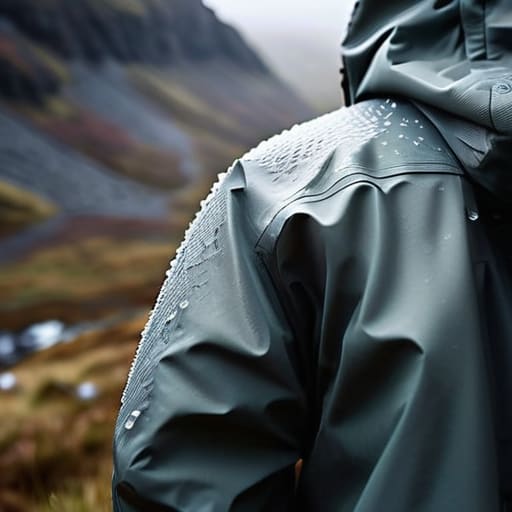
Most people start by looking at the shiny, lightweight gadgets in shop windows, but that’s a mistake. You don’t need a titanium spork; you need a system that works when the temperature drops ten degrees in twenty minutes. When people ask me about essential hiking gear for beginners, I always start with the layers. I’ve spent fifteen years in waterproof shells, and I can tell you that a cheap, non-breathable jacket is just a portable sauna that will leave you shivering the moment you stop moving. I’ve used my Arc’teryx Beta AR in everything from sleet on the Cairngorms to heavy mist in the Lake District for over three seasons now, and it’s the only thing I trust to actually move moisture away from my skin.
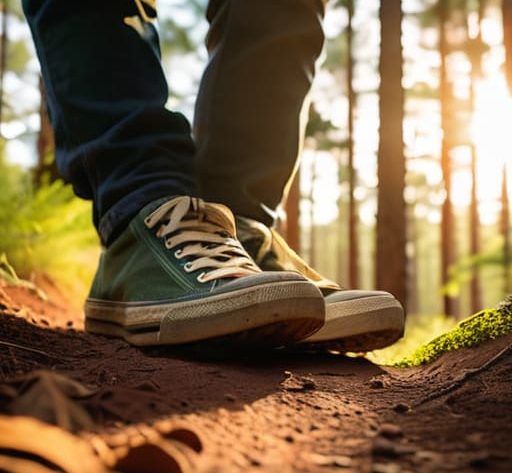
Then there is the footwear. Learning how to choose hiking boots isn’t about the brand; it’s about the terrain you actually intend to walk on. I’ve seen too many people try to tackle a scree slope in lightweight trail runners that offer zero ankle stability. If you’re heading into anything steeper than a well-maintained park path, you need something with a decent lug pattern and a stiff enough sole to prevent foot fatigue. I’ve worn my Meindl Borneo boots through roughly 400 miles of muddy, uneven terrain over the last two years, and while they’re heavy, they don’t turn into soggy anchors when the ground gets soft.
How to Choose Hiking Boots That Wont Ruin Your Week
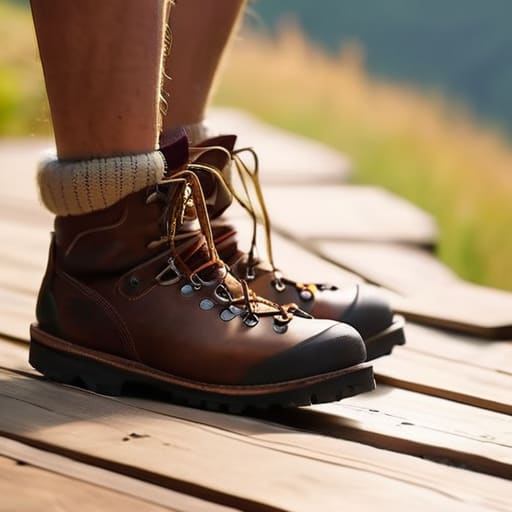
Most people make the mistake of buying boots because they look rugged in a shop window, only to find themselves five miles into a trek with blisters that make every step feel like walking on broken glass. When you’re looking at how to choose hiking boots, ignore the marketing fluff about “adventure-ready” soles and focus on the fit. I’ve spent twenty years on these hills, and I’ve seen more people sidelined by poor footwear than by actual terrain. You need to test them with the thickest socks you own—the ones you’ll actually wear on the trail—and ensure there is enough room in the toe box. If your toes hit the front while walking downhill, you aren’t just uncomfortable; you’re asking for bruised nails.
I’ve worn my current pair of Scarpa Megaliths for over four hundred days, ranging from bone-dry summer ridges to sodden, peat-bog crossings in the Lake District. They weigh about 1,200g per pair, and while they aren’t the lightest option, that weight is what provides the stability you need when the ground turns to soup. Don’t settle for a flimsy sneaker if you plan on leaving the gravel paths; a proper mid-cut boot offers the ankle support that becomes vital when fatigue sets in.
Five Ways to Avoid Becoming a Search and Rescue Statistic
- Respect the daylight, even when the sun is still out. I’ve seen too many people start a descent at 3:00 PM on a short summer day, thinking they’ve got plenty of time, only to find themselves navigating a scree slope in pitch blackness with a dying headtorch. Always plan to be back at the car at least an hour before sunset. It gives you a buffer for a twisted ankle or a sudden mist that rolls in.
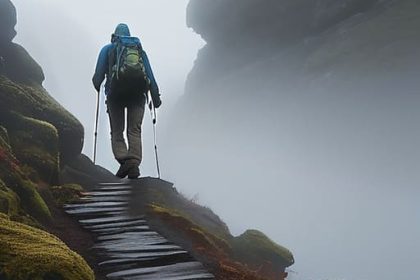
- Learn to read a mountain forecast, not just a weather app. If you’re looking at a generic app that says “sunny with a few clouds,” you’re going to have a bad time. I need to see wind speeds at altitude and cloud base heights. A 10mph breeze in the valley is a 40mph gale on a ridge, and that’s the difference between a pleasant walk and hypothermia.
- Don’t trust your “gut” when the weather turns; trust your plan. There is a specific kind of stubbornness that sets in when you’re halfway up a climb, and it’s usually what leads to accidents. If the clouds are dropping and the wind is picking up, turn back. I’ve spent twenty years watching people try to “push through” only to end up shivering in a ditch.
- Carry more water than you think you need, but don’t carry more weight than you can manage. I used to carry a heavy, 2-litre hard plastic bottle everywhere until I switched to a lightweight bladder and a small 500ml backup bottle three years ago. It saved my knees on long descents, but I never head out without that extra half-litre of contingency.
- Start small and stay local. You don’t need to tackle a Grade 1 scramble in your first month. Pick a well-marked trail, something with a clear loop, and learn how your body reacts to sustained incline. It’s much better to finish a three-mile walk feeling like you could have done more than to finish a ten-miler and realize you’ve completely trashed your joints before you’ve even learned proper technique.
The Margin for Error
Most people think starting hiking is about finding the most scenic view; in reality, it’s about learning how to respect the gap between a sunny afternoon and a ridge that turns into a freezing, lightless mess because you were too optimistic about your pace.
Bridget Halloran
The Reality of the Trail
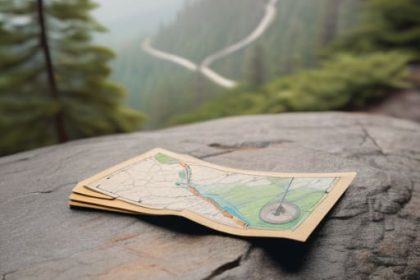
At the end of the day, starting out isn’t about having the most expensive Gore-Tex shell or the lightest titanium stove; it’s about respect. You need the right boots to keep your feet from becoming useless weights, a layering system that actually works when the wind picks up, and a map that isn’t just a digital screen on a phone with five per cent battery. Most importantly, you need to learn that the mountain doesn’t care about your schedule. If the clouds are bruising or the light is fading faster than you anticipated, the most important skill you can develop is the ability to turn around and go home.
Once you stop obsessing over the gear and start paying attention to the terrain, the hills start to open up in a way that nothing else can match. There is a specific, quiet magic in watching a peregrine dive from a crag or seeing the mist roll through a valley at dawn, but those moments are reserved for those who prepare. Don’t rush the process. Start small, stay within your limits, and always leave more daylight than you think you need. The trails will still be there tomorrow, and they are much more rewarding when you arrive with your dignity and your toes intact.
Frequently Asked Questions
How do I actually read a mountain weather forecast without getting fooled by the "sunny intervals" that turn into a gale on the ridge?
Stop looking at the icons and start reading the numbers. When a forecast says “sunny intervals,” it’s often a polite way of saying the clouds are moving fast. I’ve spent twenty years watching people get caught because they ignored the wind speed at altitude versus the valley. Check the millibars—a rapid drop means the pressure is falling, and that “sunny interval” is about to be swallowed by a front. Always look at the wind chill, not just the temperature.
When is the right time to admit the weather has turned and actually turn back, rather than pushing for the summit?
The right time is usually twenty minutes before you think it is. If the cloud base is dropping, the wind is picking up, or you’re seeing that specific, heavy stillness that precedes a cell, you stop. I’ve seen too many people trade safety for a summit view that’s currently obscured by grey mist anyway. If your decision to continue relies on “hoping” the weather holds, you’ve already made the wrong call. Turn around.
How do I figure out how much weight I can actually carry on my back before my knees start protesting?
The short answer is: your body, not a math equation. I’ve carried everything from 8kg daypacks to 22kg expedition loads over the last twenty years, and the “rule of thumb” about 20% of body weight is often too optimistic for beginners. Start with a load that feels slightly too light, then add weight in increments. If your gait changes or your knees ache by mile four, you’ve gone too far. Listen to the ache; it’s usually the first sign of a bad decision.