I once spent forty minutes on a ridge in the Cairngorms, shivering in a damp base layer, because I couldn’t find my emergency shell in the bottom of a disorganized bag. The wind was howling, the light was failing, and I was fumbling through a chaotic mess of half-eaten sandwiches and loose maps while the weather turned from “fine” to “dangerous” in a matter of minutes. Most gear guides will tell you that learning how to pack a day sack is about weight distribution or fancy compression straps, but they miss the point entirely. It isn’t about being tidy; it’s about access when you’re cold and tired, because that is when the wrong decision becomes a permanent one.
I’m not here to sell you on a specific brand of ultralight dry bags or a complicated system that requires a degree to master. Instead, I’m going to show you how I organize my own kit based on twenty-two years of seeing what actually works when the rain starts hitting. We will focus on the practicality of layers, the logic of placement, and the reality of what you actually need to carry.
Table of Contents
Essential Hiking Gear Checklist for When the Forecast Lies
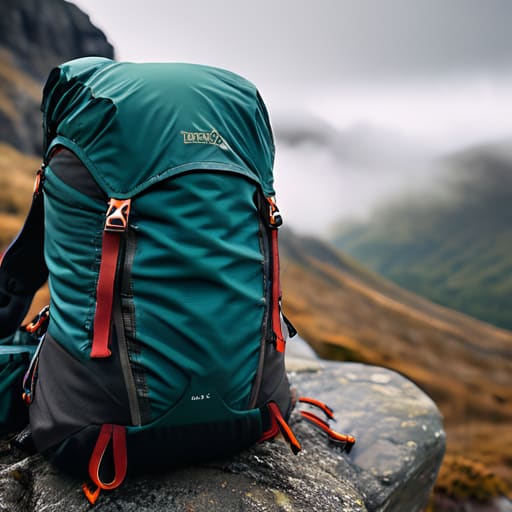
When the clouds drop and the wind picks up on a ridge, your gear list is the only thing standing between a long walk back and a very bad situation. I’ve seen too many people rely on a sunny morning forecast, only to find themselves shivering in a valley because they left their shell at the bottom of a disorganized bag. Your essential hiking gear checklist needs to prioritize the “just in case” items: a high-quality waterproof layer, an extra mid-layer, and a survival bag. I’ve carried the Montane Precip jacket for four seasons now, through everything from sleet in the Cairngorms to heavy mist in the Lake District, and it’s the only thing I trust when the visibility drops to five meters.
Efficiency is everything when you’re tired and cold. You need to master day pack weight distribution to ensure the heaviest items, like your water bladder or heavy layers, sit close to your spine. If you’re scrambling through a thicket or navigating a scramble, you don’t want your kit shifting and pulling you off balance. I always keep my first aid kit and navigation tools in the top lid or a dedicated brain compartment; I’ve spent too many years watching people dig through a pile of snacks just to find a compass in the dark.
Packing Lightweight Outdoor Equipment Without Losing Your Mind
The mistake most people make is treating their pack like a rubbish bag—just shoving everything in until the zip struggles. If you want to master packing lightweight outdoor equipment, you have to stop thinking about volume and start thinking about accessibility. I’ve spent twenty years pulling people out of scrapes where they couldn’t find their emergency bivvy because it was buried under a half-eaten sandwich and a spare fleece.
When it comes to day pack weight distribution, gravity is your primary concern. I always keep my heaviest items—my water bladder and my first aid kit—as close to my spine as possible, mid-pack. I’ve used my Osprey Talon 22 for roughly four hundred days across the Lake District and the Cairngorms, often in driving sleet, and I’ve learned that if the weight pulls you backward, you’re going to fatigue long before you reach the ridge. Keep the light, “just in case” layers at the very top. If the wind shifts or the temperature drops, you shouldn’t have to perform surgery on your kit just to stay warm.
Five Rules for Not Digging Through a Black Hole When the Clouds Roll In
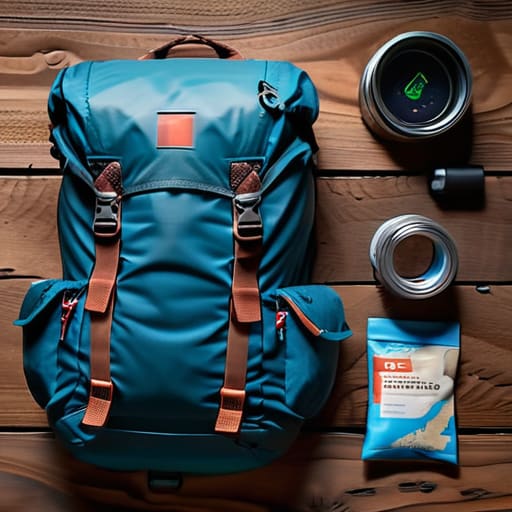
- Prioritise your “emergency layer” by keeping your waterproof shell and a mid-layer at the very top of the main compartment. I’ve spent too many evenings watching groups freeze because they buried their Gore-Tex under a sandwich and a spare pair of socks, only to realize they needed it the second the wind shifted on the ridge.
- Use the “heavy-to-center” rule to manage your center of gravity. Pack your heaviest items—like your water bladder or a dense food stash—close to your spine and mid-pack. If you let the weight sag to the bottom or pull away from your back, you’ll feel every extra gram in your shoulders by the time you hit the descent.
- Stop using “everything goes in one big pocket.” I’ve used the Osprey Talon 20 for about four seasons now, mostly in damp, gusty conditions in the Lake District, and the single large compartment is a nightmare if you don’t use internal dry bags. Separate your electronics, your first aid kit, and your snacks into smaller, colour-coded pouches so you aren’t rummaging blindly in the dark.
- Dedicate a specific, easily accessible pocket for your navigation and light. Your headtorch and map shouldn’t be buried under your lunch; they need to be reachable in seconds. I keep mine in the top lid or a side mesh pocket, because the moment you’re searching for a torch in a sudden downpour, you’ve already lost your composure.
- Leave a “buffer zone” of space at the top of the sack. Don’t pack it so tight that you have to fight the zippers to get anything out. You need that extra bit of volume to shove a damp jacket or a muddy fleece into halfway through the day without having to unpack your entire life onto a wet rock.
The Cost of Optimism
“I’ve spent twenty years watching people realize their mistake halfway up a ridge because they packed for the sunshine they saw at the trailhead instead of the gale that actually arrived. A day sack isn’t just a container for your kit; it’s your margin for error, and if you haven’t packed for the worst-case scenario, you’ve already made a decision you’ll be paying for by sundown.”
Bridget Halloran
The Gap Between the Plan and the Ridge
At the end of the day, a well-packed day sack isn’t about achieving some aesthetic perfection for a photo; it is about reducing the friction between you and a changing environment. You need your layers accessible, your navigation within reach, and your weight distributed so that your body isn’t fighting the pack before the terrain even gets difficult. I’ve spent twenty-two years watching people struggle because they buried their waterproof shell under a heavy lunch or a spare fleece, only to realize they needed it the second the wind shifted on the summit. Remember: prioritize accessibility for the things that keep you dry and warm, and keep the heavy, non-essential items centered and close to your spine. Organization is your first line of defense when the weather stops being a forecast and starts being a reality.
There is a specific kind of peace that comes from knowing exactly where everything is in your pack, even when the visibility drops to ten meters and the rain is coming at you sideways. When you stop worrying about your gear, you can actually start noticing the things that matter—the way a peregrine cuts through a thermal or the specific silence of a high corrie. Don’t let a poorly managed bag rob you of that connection. Pack with intention, respect the weight, and always, always leave room for the unexpected. The mountains don’t care about your itinerary, but they certainly respect a person who is prepared for them.
Frequently Asked Questions
How do I decide which items stay in the pack and which ones should be moved to my pockets or hip belt to avoid fumbling in bad weather?
If you’re fumbling for your map or a compass while the wind is gusting at 40mph, you’re losing heat and losing focus. I keep my compass, a small snack, and my phone in my hip belt pockets. I’ve used my Osprey Talon waist belt for five years in everything from drizzle to downpours, and those pockets are non-negotiable. If you have to unzip a main compartment to find something, it’s in the wrong place.
At what point does "going lightweight" become dangerous when I'm factoring in unexpected temperature drops or a lost trail?
It becomes dangerous the moment you prioritize a lower gram count over your ability to manage a crisis. I’ve seen people shave 300g off their kit by ditching a proper mid-layer, only to end up shivering in a ditch when the wind picks up on a ridge. If your “lightweight” setup leaves you with zero margin for error when the temperature drops or you’re stuck navigating in the dark, you aren’t being efficient; you’re being reckless.
How do I organize my layers so I'm not digging through my entire bag every time the wind picks up on a ridge?
Stop treating your day sack like a black hole. I’ve spent too many evenings watching groups freeze because they were digging for a mid-layer at the bottom of a crumpled pile. Use lightweight dry bags or even just stuff sacks to group by function—shells in one, insulation in another. Keep your most critical layer, usually your hardshell, right at the top. If you’re scrambling for gear while the wind is gusting at 40mph, you’ve already lost.