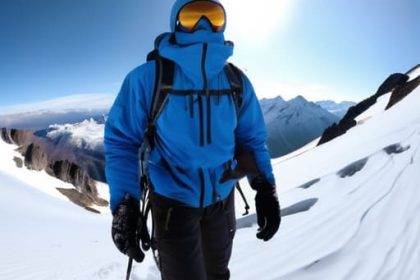
I once watched a group of climbers sit in a dry, sunny valley, admiring the sheen on their brand-new, ultralight hardshells like they were looking at fine art. They had spent a fortune on the latest tech, but they hadn’t spent a single hour figuring out how to test gear before a big trip when the wind is actually trying to peel the skin off your face. Two hours later, when the clouds dropped and the temperature plummeted, those expensive jackets were nothing more than heavy, sodden-feeling bags that didn’t breathe, and they were scrambling to find warmth. Most people think gear testing is about checking if a zipper works in your living room, but that’s just window shopping.
I’m not here to sell you on the latest marketing hype or tell you that every new piece of kit is a life-saver. My goal is to give you the unvarnished truth about what actually happens when you push your equipment to its limit. I’ll show you how to find the failure points in your kit using real-world conditions, from moisture management to weight distribution. We’re going to focus on the practical, often boring steps of testing that ensure your gear becomes an extension of your body rather than a liability when the weather turns.
Table of Contents
Testing Outdoor Equipment in Local Conditions Instead of Press Releases
The problem with manufacturer specs is that they are written in a vacuum, usually in a temperature-controlled lab or under a bright sun in California. They don’t account for the biting, damp wind that scours a ridge in the Lake District or the way a seam might weep when you’re sitting in a sodden tent at 3:00 AM. When I talk about testing outdoor equipment in local conditions, I’m talking about finding the breaking point before the mountain does. I’ve spent three days in a heavy downpour specifically to see if a supposedly “waterproof” shell actually holds up when you’re moving fast and sweating, or if it just turns into a plastic bag.
You need to replicate the misery of your intended trip. If you’re planning a week-long trek, don’t just walk around the block; perform some proper backpack weight distribution testing on a familiar, uneven trail. Load your pack to its full expected weight and see how the hip belt actually sits after four hours of climbing. If a strap pinches or a buckle feels flimsy when the load is heavy, that is a failure you cannot afford to discover when you’re ten miles from the nearest road.
Breaking in New Hiking Boots Before They Break You
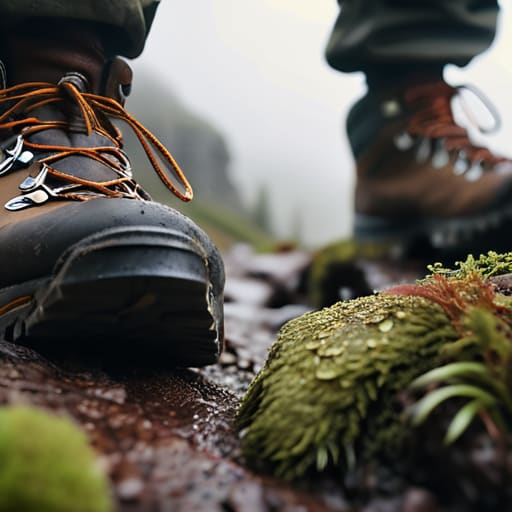
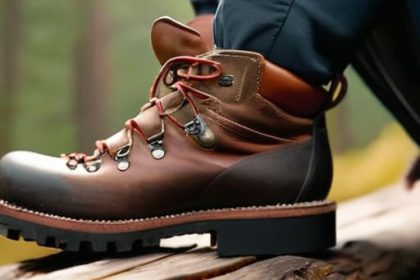
I’ve spent more time treating blisters than I have watching sunsets, and most of those injuries could have been avoided with a bit of patience. You cannot simply unbox a pair of heavy, leather boots and expect them to behave on a technical ridge in the Lake District. Breaking in new hiking boots isn’t just about walking around the garden; it’s about finding the specific pressure points where the stiffest parts of the sole meet your metatarsals. I’ve used my current pair of Meindls for three seasons now, through everything from boggy moorland to frozen scree, and they only settled after about fifty miles of varied terrain.
Don’t wait until you are twenty miles into a multi-day trek to realize your heel is lifting. Start with short, low-stakes walks on familiar paths, wearing the exact socks you intend to use on the big trip. I always recommend a gradual increase in load, perhaps even doing some backpack weight distribution testing while wearing the new boots to see how the extra mass shifts your gait. If you feel a hot spot, stop immediately. Ignoring it is an optimistic decision that usually ends in a very long, very painful walk back to the car.
Five ways to find the breaking point before the weather does
- Test your layering system while you’re actually working. I don’t care if a jacket says it’s breathable; I’ve worn my Arc’teryx Beta AR through three consecutive days of soaked-through misery in the Cairngorms, and it’s the only way I know how much sweat it actually lets out when your heart rate is up and the wind is hitting you at forty knots.
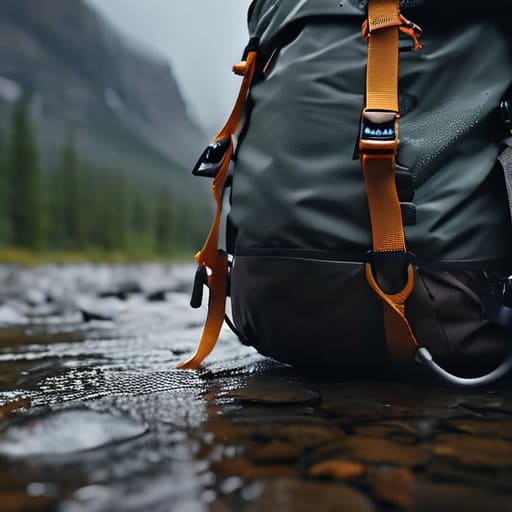
- Check your pack’s stability under load, not just when it’s empty. I’ve seen too many people head out with a brand new 65-litre pack only to realize halfway up a scree slope that the hip belt sits two inches too low. Pack it with your actual kit—water, food, and that heavy spare layer—and walk a route that actually challenges your balance.
- Learn the specific failure points of your shelter. Don’t just pitch your tent in the garden on a sunny afternoon; that tells you nothing. You need to know if that specific pole setup struggles when the wind is coming from the side, or if the flysheet lets moisture in when you’re sleeping heavily. I’ve spent enough nights shivering in a damp tent to know that “easy to pitch” doesn’t mean “survivable in a gale.”
- Audit your footwear for more than just blisters. It isn’t just about the skin on your heels; it’s about how the boot handles weight on a descent. I’ve spent twenty years watching people’s ankles wobble because they bought a lightweight trail shoe for a heavy-load trek. Test the lateral support on uneven ground before you’re ten miles from the nearest road.
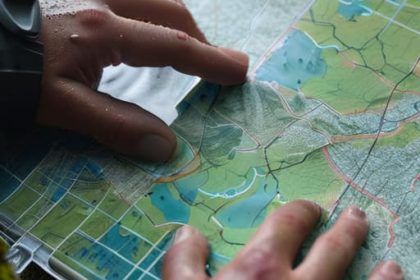
- Verify your navigation and light sources in the dark. It sounds basic, but I’ve sat in the lee of a ridge waiting for a storm to pass, realizing my headlamp was on a dying battery because I hadn’t actually checked its run-time under load. Test your torch, your power banks, and your ability to read a map when you’re tired and it’s pitch black. That’s when the real mistakes happen.
The Cost of Optimism
Most people treat a gear list like a shopping list, but on a ridge in November, it’s a survival strategy; if you haven’t sat in a damp field for six hours testing how that jacket actually breathes when you’re sweating, you aren’t testing it—you’re just hoping for the best, and hope is a terrible way to manage risk.
Bridget Halloran
The Cost of Being Wrong
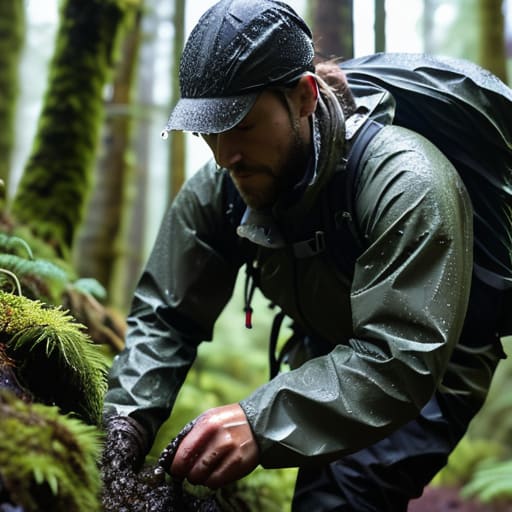
At the end of the day, testing your gear isn’t about checking boxes on a spreadsheet; it’s about knowing exactly where your equipment ends and the environment begins. You need to know if that jacket actually breathes when you’re pushing up a steep gradient in 80% humidity, and you need to know if those boots will give you a blister at mile three or mile ten. Don’t rely on a manufacturer’s spec sheet to tell you how a tent handles a sustained gale or how a stove performs when the fuel is freezing. Real confidence comes from failure in small, controlled doses—a leak in the garden, a cold night in the local woods, or a soaked layer on a Tuesday afternoon. If you haven’t pushed your kit to the point of discomfort yet, you don’t actually know what it is.
The mountains don’t care about your itinerary, and they certainly don’t care how much you spent on your kit. They only respond to the reality of the conditions you find yourself in. When the light begins to fail and the wind shifts from a breeze to a howl, you don’t want to be wondering if your gear is up to the task; you want to be acting on instinct because you’ve already done the hard work of testing. Preparation is often quiet, repetitive, and frankly, a bit boring. But that boredom is what allows you to actually enjoy the ridge when the weather holds. Respect the gap between optimism and reality, and you’ll find much more joy in the wild.
Frequently Asked Questions
How much time should I actually set aside for testing gear before a long trip, or is it something I should be doing constantly?
You shouldn’t be “setting time aside” like it’s a scheduled workshop; testing is a continuous habit. If I buy a new stove, I’m testing it in my back garden on a Tuesday night, not waiting for a dedicated ‘gear week.’ However, for anything critical—boots, a new shelter, or a heavy pack—you need at least three full days of progressive use in actual weather. If you haven’t pushed it through a damp, miserable afternoon, you haven’t tested it.
If I'm testing a piece of kit in mild weather, how can I be sure it won't fail me when the temperature drops or the wind picks up on a ridge?
You can’t. If you only test a shell in a light breeze on a Tuesday afternoon, you haven’t tested it. To bridge that gap, you have to simulate the stress. Wear your full layering system—the base, the mid, and the shell—and find a way to get wet or cold. If you can’t find a storm, find a hill, wait for the wind to pick up, and stay out there until you’re actually shivering. That’s when you’ll see how the kit performs.
Is it worth carrying a piece of gear just to test it if I'm not 100% sure I'll use it on the actual expedition?
Yes. If you’re questioning whether to pack it, you’ve already identified a variable you don’t understand. I’ve seen too many people reach a ridge in a sudden downpour only to realize their “backup” layer is heavy, clammy, and useless. Carry it. I’ve spent three days testing a specific lightweight stove in freezing, damp conditions just to see if the ignition held; it was a nuisance to pack, but it saved me a cold breakfast when the wind picked up.