I remember a Tuesday in late October, somewhere in the Cairngorms, when the mist didn’t just roll in—it swallowed the world whole. I was leading a group of three, all well-equipped but entirely too confident, and within twenty minutes, the path had simply ceased to exist. One of them tried to “feel” our way along the contour, convinced his intuition was better than a piece of plastic. That’s the moment you realize that knowing how to take a bearing isn’t some academic exercise for a classroom; it is the thin line between a damp walk back to the car and spending a very long, very cold night huddled under a survival bag.
I’m not here to give you a lecture on the physics of magnetism or sell you a high-tech GPS that will inevitably die when the temperature drops. I’m going to show you how to use a standard baseplate compass with the precision required when the visibility is less than ten metres. I’ll walk you through the actual, gritty mechanics of the process—the kind of stuff you only learn when you’re fighting the wind and trying to keep your hands steady enough to read a map. No fluff, just the practical steps that work when things go wrong.
Table of Contents
Mastering Azimuth Calculation Before the Fog Rolls in
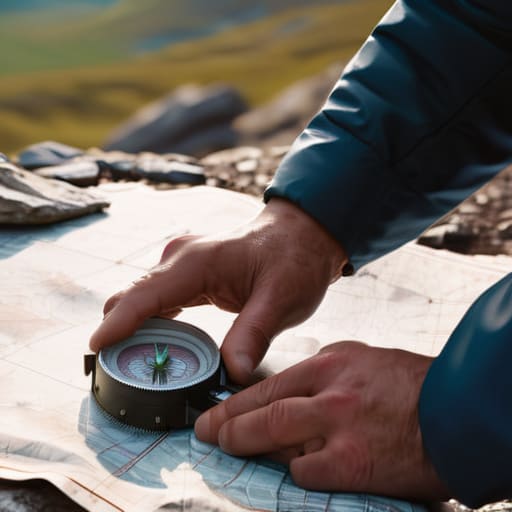
The mistake most people make is waiting until they can’t see the next ridge to start their azimuth calculation. I’ve seen too many groups standing in a whiteout, staring at a compass like it’s a magic wand, only to realize they haven’t actually practiced the math when they had the luxury of clear sightlines. You need to do this work while the landscape is still legible. Sit down, get your map flat, and work out your bearing while you can still see the landmarks you’re aiming for. If you wait until you’re shivering and the visibility has dropped to ten meters, your fine motor skills will vanish, and that’s when you start making errors that lead to unnecessary detours.
Before you even think about moving, ensure your compass declination adjustment is set correctly for the specific area you’re walking in. I’ve used my Silva Expedition compass for over six years in everything from the damp Lake District fells to the biting winds of the Cairngorms, and I can tell you that even a few degrees of error over a long distance will put you in a very different place than you intended. Don’t trust a quick glance; take the time to get the math right while the sun is still up.
Why Compass Declination Adjustment Is Your Best Friend
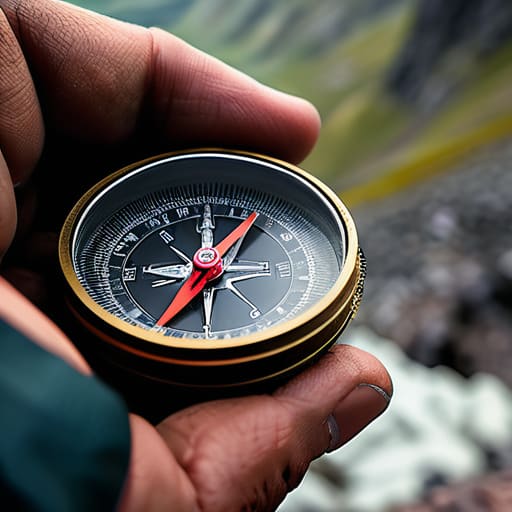
If you’ve ever spent twenty minutes staring at a map, certain that you were heading straight for a valley floor only to find yourself staring at a sheer scree slope, you’ve likely fallen victim to magnetic declination. It’s that annoying gap between true north—the axis the earth actually spins on—and magnetic north, which is constantly drifting. When you are using a magnetic compass, that discrepancy isn’t just a mathematical curiosity; it is the difference between staying on a marked trail and wandering into a peat bog.
I remember a particular scramble in the Cairngorms back in 2014 where the group was confident, but our lines were off by nearly eight degrees. We weren’t lost, not yet, but we were consistently wrong. That is what declination does—it erodes your accuracy slowly until your position is completely decoupled from the reality of the terrain. Learning compass declination adjustment is about closing that gap. Whether you are adjusting your compass manually or calculating the offset during your azimuth calculation, you have to account for it. If you don’t, you aren’t actually navigating; you’re just guessing with a piece of plastic.
Five Ways to Avoid Walking Off a Ledge
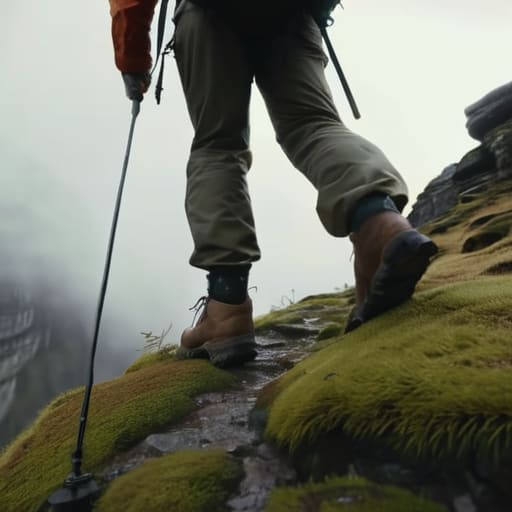
- Stop trying to eye-ball it. When the visibility drops to ten metres, your brain will try to convince you that the path is still where you left it. It isn’t. Trust the needle, not your instincts, and take your bearing while you can still see a distinct landmark to aim for.
- Level your compass or nothing happens. I’ve seen too many people trying to take a reading while holding the baseplate at a tilt in a gale. If the needle is hitting the housing because you’re being sloppy, your bearing is garbage. Keep it flat, even if your hands are shaking from the cold.
- Use two points of reference, not one. If you’re trying to navigate through a featureless plateau, don’t just aim for a single rock. Find a secondary feature—a dip in the skyline or a specific crag—to confirm your line. One point is a guess; two points is a bearing.
- Check your work before you commit. Once you’ve set your bearing, look at the terrain ahead. Does the slope match what your map says? If you’re aiming for a valley but the ground is rising sharply, you’ve made a mistake in your calculation. Stop and re-do it immediately.
- Don’t wait for the light to fail. I’ve had to lead groups out of trouble at 4:00 PM in November because they waited until they couldn’t see the contours to start navigating. Take your bearings while you still have enough light to actually read the map and see the terrain you’re aiming for.
The Cost of a Wrong Turn
“A bearing isn’t just a number on a dial; it’s the difference between walking a steady line toward your camp and wandering aimlessly into a boulder field as the light dies. I’ve seen too many people rely on a ‘feeling’ for direction, only to realize that by the time they check their compass, they’ve already walked a kilometer in the wrong direction and the temperature is dropping faster than they expected.”
Bridget Halloran
The Difference Between a Plan and a Prayer
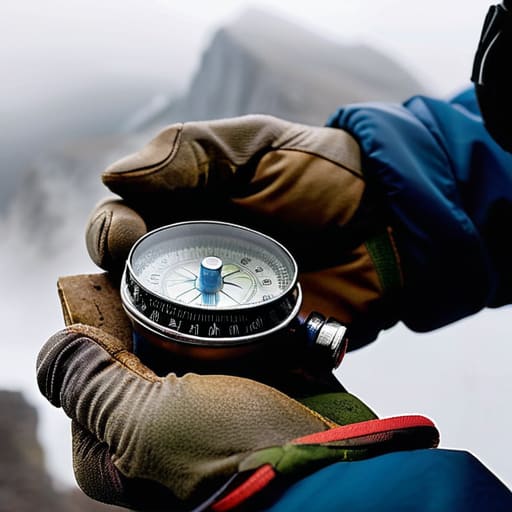
At the end of the day, taking a bearing isn’t some abstract mathematical exercise to be tackled when you’re already shivering in a whiteout; it is a fundamental skill that requires calm, methodical repetition. You need to master the azimuth calculation, account for your local declination, and most importantly, trust the instrument over your own wandering intuition. I’ve spent twenty-two years watching people try to “eyeball” a direction when the visibility drops to ten meters, and it never ends well. Remember that a compass is only as useful as the person holding it, so practice these steps on familiar ground long before you find yourself standing on a featureless plateau wondering which way is north.
There is a specific kind of quiet confidence that comes from knowing exactly where you are and exactly where you are going, even when the landscape decides to vanish. The mountains don’t care about your optimism or your itinerary, but they do respect a person who is prepared. Don’t view navigation as a chore or a technicality; view it as your primary safety net. When you master the mechanics of the bearing, you stop reacting to the mountain and start moving through it with intention. It’s the difference between being a victim of the weather and being a visitor who knows exactly how to find the way home.
Frequently Asked Questions
What do I do if I can't find a clear landmark to sight through my compass when the visibility drops to ten metres?
When the visibility drops to ten metres, you aren’t sighting landmarks anymore; you’re navigating by dead reckoning and micro-navigation. Stop trying to find a distant peak that isn’t there. Instead, pick a feature in your immediate vicinity—a specific boulder, a bend in the path, or even a distinct clump of heather—and take a bearing on that. Move towards it, re-check your bearing, and repeat. It’s slow, tedious work, but it’s how you avoid walking off a ledge.
How do I maintain an accurate bearing when I'm navigating a steep, undulating ridge rather than a flat path?
On a ridge, your biggest enemy is “micro-navigation.” You’ll be tempted to follow a line of sight, but terrain will force you to drop into a hollow or skirt a crag. Don’t just aim for a distant peak; pick a distinct feature—a specific rock or a bend in the line—maybe fifty metres ahead. Take a bearing, move to that feature, and re-check. If you wait until you’ve drifted a hundred metres off-course, you’re already lost.
If I've miscalculated my bearing by a few degrees halfway through a descent, how do I correct it without getting turned around?
Stop walking. That’s step one. If you keep moving while trying to fix a mistake, you’re just compounding the error. Find a distinct feature—a specific rock or a lone hawthorn—and stand there. Re-calculate your bearing from scratch using your map, don’t try to “math” the difference from your old one; that’s how you end up in a peat hag. Once you have the new bearing, pick a new aiming point further down the slope and move steadily.