I was halfway up a scree slope in the Cairngorms, the wind coming in sharp, freezing gusts that felt like they were stripping the skin right off my face, when my trekking pole snapped. It wasn’t a clean break, either; it was a jagged, structural failure that turned a steady ascent into a clumsy, dangerous struggle. Most people think that knowing how to repair gear in the field is about having a massive, organized toolkit, but the truth is much more about resourcefulness and timing. If you wait until you’re shivering and losing light to realize your gear has failed, you’ve already made the wrong decision.
In this guide, I’m skipping the glossy manufacturer’s advice and telling you what actually works when you’re miles from the nearest trailhead. I’ll walk you through the specific, lightweight fixes I’ve used myself—from patching a punctured sleeping pad in a gale to securing a split boot lace—so you can focus on the ridge instead of your kit. This isn’t about making your gear look new; it’s about keeping you moving when the weather turns and the margin for error disappears.
Table of Contents
Guide Overview
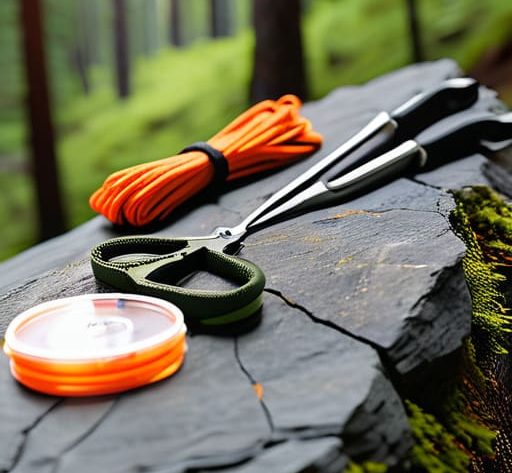
Tools & Supplies
- Multi-tool or small knife for cutting materials
- Sewing needle or awl for punctures
- Small scissors for precision trimming
- Gear repair tape (e.g., Tenacious Tape) 1 roll
- Heavy-duty nylon thread 1 spool
- Sewing awl or upholstery needle 1 unit
- Fabric glue 1 small tube
Step-by-Step Instructions
- 1. First, you need to assess the damage without the panic. When a seam splits or a pole snaps, the adrenaline makes you want to move fast, but speed is usually the enemy of a proper fix. Find a sheltered spot, get out of the wind, and look at the failure point. Is it a structural break, like a carbon pole, or a surface issue, like a tear in a silnylon flysheet? You cannot fix what you haven’t properly diagnosed, and trying to patch a hole that is still actively stretching will just result in a useless bit of tape stuck to nothing.
- 2. Clean the surface before you apply any adhesive. I’ve spent too many evenings in damp bivouacs trying to get Tenacious Tape to stick to a jacket that was coated in grit and salt spray. If you don’t clean the area, the repair will fail the moment the temperature drops. Use a small amount of alcohol wipe from your first aid kit or even just a dry, clean cloth to remove the surface grime. If the fabric is oily or wet, that tape isn’t going anywhere, no matter what the packaging says.
- 3. For fabric tears, use the “patch and press” method. If you’re dealing with a rip in a tent or a jacket, don’t just slap a piece of tape over the hole. You need to cut your repair tape into a rounded shape—square corners catch on everything and peel up within a few miles. Apply the patch to the clean, dry underside of the fabric if possible, then press it firmly from the centre outwards to eliminate any air bubbles. I’ve used this specific method on my own lightweight mid-layers for over four seasons in heavy rain, and as long as you avoid the creases, it holds.
- 4. Dealing with a broken pole requires a different level of seriousness. If a tent pole snaps, you aren’t just looking for a patch; you are looking for structural integrity. You’ll need to use a pole repair sleeve—that little metal tube that should be in your kit. Slide it over the break and secure it with the provided bands. If you don’t have a sleeve, you can use a sturdy, straight stick and some heavy-duty cord, but don’t expect to pitch that tent in a gale. This is a survival fix to get you through the night, not a permanent solution.
- 5. For footwear issues, specifically a delaminating sole or a loose lace, keep it simple. I’ve walked twelve miles in a downpour with a lace that had snapped, using a bit of paracord as a temporary replacement. It’s not pretty, and it’s not comfortable, but it keeps you moving. If your boot sole is starting to peel, a small amount of contact cement or even a tight wrap of duct tape around the toe can buy you enough time to reach the trailhead. Just remember that once you’re back, that boot needs a professional overhaul before it ever touches a mountain again.
- 6. Finally, once the repair is done, test it under controlled conditions before you commit to the next ridge. Don’t wait until you’re halfway up a scramble in a thunderstorm to find out your patch has failed. Give the repaired area a firm tug and check the tension. If it feels flimsy, do not assume it will hold when the weather turns. It is much better to spend twenty minutes re-doing a repair in the lee of a boulder than to spend six hours shivering in a soaked sleeping bag because your gear gave up on you.
Quick Fixes for Hiking Gear When Daylight Is Fading
When the light starts to fail on a ridge, your priorities shift instantly from “fixing” to “managing.” You aren’t looking for a permanent solution anymore; you are looking for a way to stop the bleeding—or the leaking. If you’re dealing with a tear in a jacket or repairing tent fabric in the twilight, stop trying to be precise. I’ve spent too many evenings fumbling with tiny sewing kits in the dark, only to realize I’ve just made the hole larger. At this stage, use your hands, not your eyes. Grab the widest piece of tape you have and slap it on. It doesn’t have to be pretty; it just has to stop the wind from getting inside your layers.
This is where quick fixes for hiking gear become about psychological stability as much as physical utility. A broken buckle or a snapped lace can feel like a catastrophe when the shadows are lengthening, but it’s usually just a symptom of an optimistic decision made three hours ago. If a strap fails, use a carabiner or a bit of cord to lash it back. If you can’t see to work, stop. Sit down, get your headlamp on, and finish the job then. Pushing through a repair in the gloaming is how you end up with a broken light and a lost sense of direction.
Backpack Repair Techniques and Outdoor Equipment Troubleshooting
When it comes to backpack repair techniques, most people focus on the big stuff, like a snapped buckle, but it’s the small, structural failures that actually end your trip. I’ve spent the last four seasons using the Osprey Aether series on multi-day treks in the Cairngorms, and I’ve learned that a fraying shoulder strap is more dangerous than a broken zipper. If a seam starts to pull, don’t just keep walking; use a needle and heavy-duty thread to tack it immediately. If you wait until the load shifts, you’ll find yourself trying to manage a heavy pack with a lopsided center of gravity, which is a fast track to a twisted ankle.
Effective outdoor equipment troubleshooting also means knowing when a fix is just a temporary stay of execution. I once spent six hours in a gale trying to patch a tear in a lightweight silnylon tent using nothing but a bit of duct tape and sheer stubbornness. It worked for the night, but the patch failed the moment the wind shifted. If you are repairing tent fabric in the wild, remember that tape is a bridge, not a permanent solution. It buys you time to reach the trailhead, but it doesn’t fix the integrity of the material.
Five things I’ve learned from fixing gear while shivering in a bivvy
- Carry a small roll of Tenacious Tape, not the cheap stuff. I’ve used a 10cm strip of this on a punctured hardshell jacket during a three-day traverse in the Cairngorms last October, and it held through a gale. If you try to use standard duct tape on technical fabrics, the adhesive will turn into a gummy mess the moment it gets damp, and you’ll be left with a hole and a sticky disaster.
- Always carry a needle and some heavy-duty thread, even if you aren’t a seamstress. I once had to stitch a ripped backpack shoulder strap back together after a snag on a granite ledge; it wasn’t pretty, but it kept the weight from pulling the whole pack apart. If you’re sewing, do it while you still have decent light and enough dexterity in your fingers to actually see the eye of the needle.
- Keep a tiny multi-tool with pliers in your kit. I’ve used the pliers to crimp a bent tent pole peg back into something remotely functional after it hit a stone in a peat bog. You can’t fix hardware with just your hands once the temperature drops and your fingers go numb.
- Don’t ignore the small things like loose buckles or snapped cordage. I’ve spent twenty years seeing people struggle because a single plastic buckle failed, and they hadn’t carried a spare or a way to lash things together. A bit of paracord is lightweight and can be the difference between a functioning pack and a pile of gear sliding down a slope.
- Clean the surface before you patch it. This sounds pedantic, but if you’re trying to patch a tear in a tent or a jacket, you have to get the mud and the grit off first. I’ve seen patches fail halfway through a night because the user applied them straight onto a damp, dirty fabric; the bond won’t take, and you’ll be back to square one at 3:00 AM.
The Cost of Optimism
I’ve seen people try to “make do” with a snapped buckle or a leaking seam when the light was failing and the wind was picking up, thinking they could just push through. But gear failure isn’t just an inconvenience; it’s a decision point. You either fix it properly with what you have in your kit, or you accept that your route just got a lot shorter and a lot more dangerous.
Bridget Halloran
The reality of the repair kit
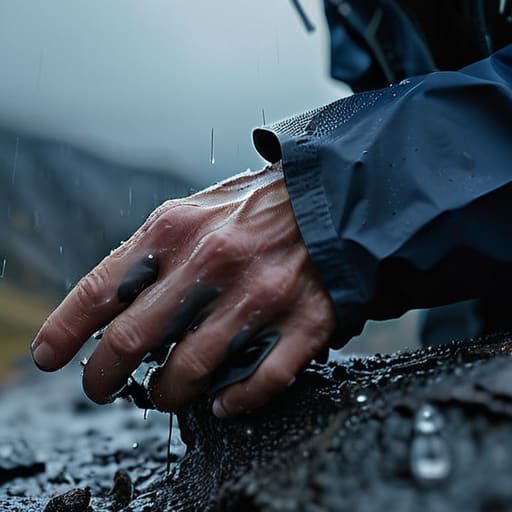
At the end of the day, field repair isn’t about being a master craftsman; it’s about having the right tools to bridge the gap between a minor nuisance and a genuine emergency. Whether you are using Tenacious Tape to seal a breach in your shell after a snag on a gorse bush, or using a bit of cord to stabilize a broken pole, the goal is the same: maintaining integrity until you reach camp. I’ve spent twenty years watching people struggle because they thought a small tear or a loose buckle was something they could just deal with later. Most of the time, “later” happens when you’re halfway across a saturated plateau in a gale, and that is when the gear fails you most spectacularly. Keep your repair kit light, keep it accessible, and never underestimate the utility of a simple roll of high-quality tape and some heavy-duty thread.
There is a specific kind of quiet confidence that comes from knowing you can fix what breaks. It changes the way you walk the hills; you stop being a passenger to your equipment and start becoming a partner to it. The mountains don’t care if your jacket is ripped or your pack is fraying, but your ability to manage those small failures determines how much of the landscape you actually get to experience. Don’t let the fear of a gear failure keep you on the valley floor. Instead, prepare for the inevitable, learn your kit, and remember that the most important tool you carry isn’t in your pack—it’s the decisiveness to act before a small problem becomes a mountain of its own.
Frequently Asked Questions
How much weight am I actually adding to my pack if I carry a full repair kit versus just a few essentials?
A minimal kit—ten meters of high-strength tape, a needle, some heavy-duty thread, and a multi-tool—weighs about 150g. I’ve carried that exact setup through three seasons of wet Scottish winters without a single failure. A “full” kit, including spare poles, extra buckles, and multiple patches, can easily climb to 600g or more. In my experience, that extra weight isn’t worth it. Carry the essentials that fix the most common breaks; don’t carry the weight of everything that might happen.
At what point do I stop trying to patch a piece of gear and just accept that it’s time to head back to the car?
You stop when the repair stops being about the gear and starts being about your safety. If you’re spending forty minutes faffing with a stove or a tent pole while the light is failing or the wind is picking up, you’ve already lost the battle. If a fix requires you to be stationary in worsening conditions, or if the failure compromises your shelter or warmth, stop patching. Accept the loss, pack it out, and head down.
Can I use standard duct tape on technical waterproof membranes, or am I just going to ruin the fabric permanently?
Don’t. I’ve seen enough people try to patch a Gore-Tex jacket with silver duct tape only to realize they’ve effectively turned their expensive shell into a non-breathable plastic bag. I used a strip of standard tape on my old shell during a forced bivouac in the Cairngorms three years ago; it held the tear for the night, but the adhesive residue was a nightmare to strip off and it permanently clogged the membrane’s pores. Use Tenacious Tape instead.