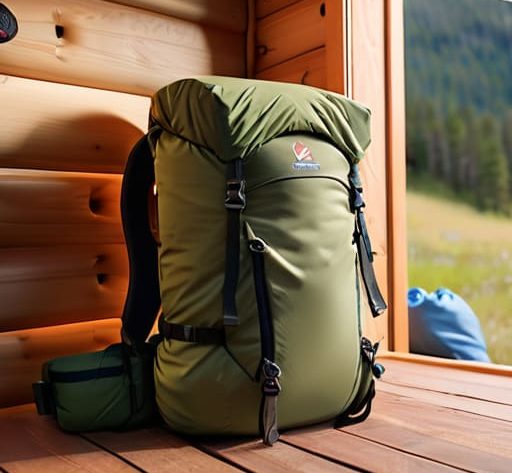
I once spent four hours in a horizontal downpour on the Skiddaw ridge, watching a client struggle to find his waterproof shell because he’d shoved it at the very bottom of his pack, underneath a heavy bag of oats and a spare pair of boots. He wasn’t unprepared, he was just optimistic about his organization. Most of the advice you find online about how to pack a rucksack for camping feels like it was written by someone who has only ever tested their kit in a dry garden. They talk about “strategic compartments” and “optimized weight distribution” like they’re loading a shipping container, rather than preparing for a night where your gear is the only thing standing between you and a very cold, very miserable reality.
I’m not here to sell you on fancy internal organizers or expensive compression sacks that promise to shave grams you don’t actually need. Instead, I’m going to show you how to pack based on access and gravity. I’ll tell you exactly where your essentials need to live, how to manage the center of gravity so your hips don’t ache by mile ten, and why the way you layer your gear matters just as much as the gear itself. No fluff, no press releases—just the practicalities of keeping your kit functional when the weather turns.
Table of Contents
Mastering Rucksack Weight Distribution Principles Before the Descent
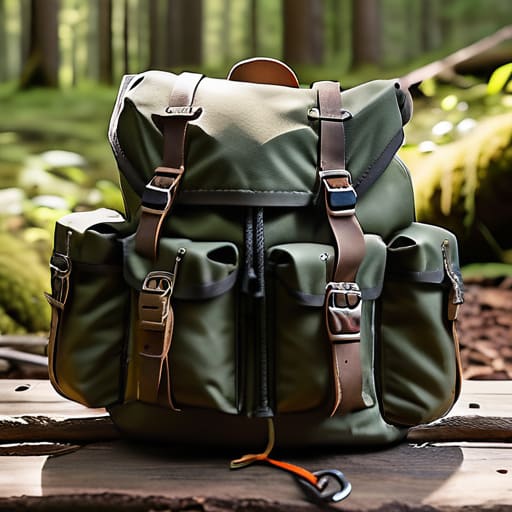
If you pack your heavy items at the very bottom of the bag, you’re essentially creating a pendulum that will tug at your shoulders and throw your balance off every time you step over a loose stone. To manage your stability, you need to understand the center of gravity for hikers. I’ve spent twenty years walking uneven terrain, and I can tell you that a bag with a low center of gravity feels like it’s trying to pull you backward down every slope. You want your heaviest pieces—that stove, the water bladder, or your food bag—positioned close to your spine, mid-to-upper back.
Effective backpacking load management isn’t about just getting everything inside; it’s about how that weight interacts with your movement. I’ve seen too many people start a trek feeling fine, only to find their hips aching by hour four because their gear was shifted too far away from their body. Keep the bulk tight against your back and centered. If the weight starts to pull you away from your midline, you haven’t distributed it correctly, and you’ll be fighting your own kit before you even reach the first ridge.
The Critical Center of Gravity for Hikers on Unstable Terrain
When you’re navigating a scree slope in the Lake District or stepping over moss-slicked roots in a peat bog, your pack shouldn’t feel like a pendulum. If you’ve ignored the center of gravity for hikers, every stumble becomes a potential fall. I’ve seen too many people reach the summit only to find that their heavy stove and fuel canister are sitting at the very bottom of the bag, pulling their hips backward. This forces you to lean into the slope just to stay upright, which exhausts your stabilizer muscles long before you’ve even reached your campsite.
For effective backpacking load management, you need to keep the heaviest items—your tent poles, water bladder, or even that heavy multi-day stove—tight against your spine and positioned in the middle of the pack, between your shoulder blades. I’ve spent the last three seasons using the Osprey Aether 65 for high-altitude treks, and I always ensure the dense, heavy bits are tucked in high and close. If the weight is pulling you away from your midline, you aren’t just tired; you’re dangerously unstable.
The Small Mistakes That Turn a Ten-Mile Walk Into a Twenty-Mile Struggle
- Stop treating the bottom of your pack like a storage bin for everything you don’t want to see. I’ve seen too many people shove their sleeping bag at the very bottom, only to realize three hours into a descent that they’ve actually packed their heavy stove and food canister underneath it. You’ll be digging through your kit in the dark, sweating through your base layers, while your center of gravity shifts every time you move a heavy item. Put the light, bulky stuff—the sleeping bag and the spare down jacket—at the base, but keep your heavy, dense items closer to your spine, mid-height.
- The “Quick-Access” Lie. If you are packing a rucksack for a multi-day trip, you cannot afford to have your waterproof shell or your first-aid kit buried under your tent fly. I’ve spent more than a decade watching people get soaked to the bone because they couldn’t find their hardshell in a sudden cloudburst. I use my Osprey Exos (which I’ve carried through three seasons of wet peat and scree) and I always keep my rain gear in the top lid or the hip-belt pockets. If you have to unpack half your bag to deal with a change in weather, you’ve already lost the battle.
- Manage your “dead weight” by auditing your kit before you leave the house. I once led a group where one person was carrying three extra sets of cotton base layers “just in case.” Cotton is a death sentence when it gets damp. I’ve carried my current set of merino layers through forty days of sustained rain in the Lake District, and they still work because they dry quickly and don’t hold weight when wet. If it doesn’t serve a specific, survival-based purpose, leave it in the car.
- Use your compression straps to stop the “internal avalanche.” There is nothing more exhausting than a pack that shifts and sloshes with every step because the contents are loose. I’ve used my Gregory Baltoro for five years, and the key to it not feeling like a sack of loose rocks is tightening those compression straps until the load is a single, solid unit against your back. If your gear is shifting, your muscles are working twice as hard to stabilize you, and that’s how you end up with a strained lower back before you’ve even reached the first ridge.
- The Hip Belt is not a suggestion. I see people constantly adjusting their shoulder straps to take the weight, but that’s a mistake that will kill your energy levels by midday. Your hips are designed to carry the load; your shoulders are just there to keep the pack from wobbling. Once you have your heavy items positioned against your spine, tighten that hip belt until you feel the weight transferred to your pelvis. If your shoulders are digging in, your pack is loaded incorrectly.
The Cost of a Misplaced Pound
I’ve seen plenty of people realize they’ve packed wrong only when they’re halfway up a scree slope in a gale, feeling every ounce of a heavy sleeping bag pulling them backward. A rucksack isn’t just a bag; it’s a shifting, living weight that will either help you balance or actively try to unseat you when the weather turns.
Bridget Halloran
The Last Mile and the Long View
At the end of the day, a well-packed rucksack isn’t about following a rigid checklist; it’s about respecting the physics of the terrain you’re about to step into. You need your heavy items—the tent, the water, the stove—tucked tight against your spine and centered, not dangling at the bottom like a lead weight. If you’ve balanced your center of gravity and kept your essentials in the top lid or side pockets, you won’t be fumbling for a headtorch in a sudden downpour or struggling to find a map while your legs are shaking on a scree slope. Proper distribution turns a punishing slog into a manageable walk, ensuring that when the weather turns or the light fails, your gear is an asset rather than a dangerous liability.
I’ve seen too many people start a trek with a sense of misplaced optimism, only to find that an unbalanced pack makes every steep ascent feel twice as long and every descent twice as precarious. The mountains don’t care about your itinerary, and they certainly don’t care how much gear you brought; they only care about how you handle what you have. Take the extra ten minutes at the trailhead to adjust your straps and check your load. It is much better to spend that time doing it right in the warmth of the car park than to be fighting your own equipment when you’re shivering on a ridge at dusk.
Frequently Asked Questions
How do I adjust the hip belt and load lifters once the pack is actually full to ensure the weight isn't just pulling on my shoulders?
Once the pack is loaded, don’t just tighten everything blindly. First, cinch that hip belt low—it should sit right on your iliac crest, not your waist. If it’s too high, the weight migrates to your shoulders instantly. Then, pull those load lifters. I’ve used my Osprey Atmos for five seasons in everything from heavy sleet to midsummer heat, and if those lifters aren’t pulling the pack’s top closer to your spine, you’re just begging for a shoulder ache.
What is the best way to pack heavy items like a stove or water reservoir if I’m planning on doing several days of steep, technical ascents?
Keep the heavy stuff—your stove, fuel, and full water reservoir—tight against your spine, positioned between your shoulder blades. If you let them sag toward the bottom or drift toward the outer edge of the pack, they’ll pull your center of gravity backward. On a steep, technical ascent, that’s how you lose your balance. I’ve spent twenty years watching people stumble because their load was shifting mid-step. Keep it central, keep it high, and keep it tight.
How much "buffer" space should I actually leave in my rucksack for extra layers if the weather forecast starts looking more volatile than expected?
Leave at least a third of your pack empty. I’ve seen too many people pack their bag to the brim on a sunny morning, only to find themselves shivering in a valley because they have no room to pull out a heavy mid-layer or a damp emergency shell. If your bag is packed tight, you’re one sudden temperature drop away from a very cold, very miserable night. Pack light, but leave the room.