I spent three years as a ranger watching people try to “improve” nature by forcing it into a shape that didn’t work, and a garden pond is no different. Most people think that if they buy the most expensive pump and a bag of fancy aquatic plants, they’ve mastered the art, but they’re usually just building a high-maintenance bathtub that dies in August. If you want to learn how to build a wildlife pond that actually functions as an ecosystem rather than a decorative chore, you have to stop thinking like a decorator and start thinking like a landscape. A real pond isn’t about looking pretty for a weekend; it’s about creating a stable, messy, and reliable habitat that survives the first heavy frost and the hottest July drought.
In this guide, I’m stripping away the glossy garden centre nonsense to give you the practical, heavy-lifting reality of the process. I will walk you through the specific site selections that prevent your project from becoming a muddy swamp, the exact sloping depths needed for different species, and why you should avoid the urge to over-clean the water. I’ve spent two decades observing how water interacts with local terrain, and I’m going to show you how to build something that actually lasts.
Table of Contents
Guide Overview
Tools & Supplies
- Shovel and spade for excavating the pond shape
- Spirit level to ensure even edges and depth
- Wheelbarrow for transporting soil and rocks
- Pond liner (heavy-duty rubber or EPDM) 1 unit
- Aquatic plants (various species) 5-10 units
- Gravel and stones for terracing and edges 3-5 bags
- Sand for smoothing the base 1 bag
Step-by-Step Instructions
- 1. First, you need to pick a spot that isn’t going to turn into a muddy trap after the first heavy rain. I’ve seen too many people dig a hole in a natural depression at the bottom of a slope, only to find their pond becomes a silt-filled basin that needs dredging every single spring. Aim for a spot that gets a decent amount of sunlight—at least five or six hours—but keep it away from the drip line of large trees. If you put it directly under an oak, you’ll spend your entire summer fighting a losing battle against falling leaves and debris that rot and choke the water.
- 2. Once you’ve found the ground, get your measurements right before the first shovel hits the dirt. You aren’t just digging a hole; you are engineering a habitat. You need to create a gradual slope rather than a single deep plunge. I always recommend a “terraced” approach. This means having a shallow edge for insects and amphibians to enter, a middle shelf for aquatic plants, and then a deeper center zone. If the sides are too steep, you’ve just built a trap for anything that falls in, rather than a functional ecosystem.
- 3. Before you lay down any liner, you have to clear the floor of your hole with more precision than you’d think necessary. Remove every single sharp stone, thick root, or piece of flint. I’ve spent many a weekend repairing pond liners that had been punctured by a single unnoticed piece of granite hidden in the soil. Once it’s smooth, lay down a thick layer of sand or a specialized protective fleece. I’ve used heavy-duty pond fleece on three different garden projects over the last four years, and it is non-negotiable if you want the liner to last more than two seasons.
- 4. Lay your liner and start the process of adding water, but do it slowly. If you just hosed it in at full pressure, you’ll create pockets of air under the material that make the whole thing unstable. As the water rises, use your hands to smooth the liner against the sides, ensuring the sloped shelves you dug are actually holding their shape. This is also the time to tuck the edges of the liner under heavy stones or timber to prevent it from shifting when the ground settles during the first winter freeze.
- 5. Now comes the part most people rush through: the planting. Don’t just grab whatever looks pretty at the garden center; you need a balance of oxygenators, floating plants, and marginals. The oxygenators are your biological filter, working quietly in the background to keep the water from turning into a stagnant soup. I tend to favor hardy species that can handle a bit of a frost, as you don’t want to be replanting the entire pond every time the temperature drops unexpectedly in May.
- 6. Finally, you need to “soften” the edges to make it actually usable for wildlife. A pond with a clean, plastic rim is a warning sign to a hedgehog or a toad, not an invitation. Scatter some stones, some decaying wood, or even some dried leaves around the perimeter to create a seamless transition from the garden to the water. If a creature can’t find a way to crawl out of the water as easily as it crawled in, you haven’t built a pond—you’ve built a temporary holding cell.
Pond Liner Installation Avoiding the Costly Mistakes
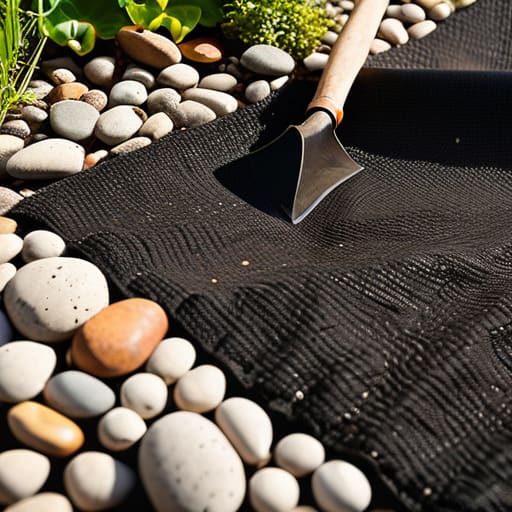
The biggest mistake I see people make during pond liner installation is assuming the ground underneath is a finished product. It isn’t. I spent three years doing footpath drainage in the Peak District, and if you don’t account for the shifting soil, your liner will be punctured by a sharp bit of limestone or a buried root within two seasons. Before you even touch the plastic, you need to clear the hole of every single pebble and twig. I always carry a small hand trowel to smooth out the base, and I’ve learned the hard way that layering a thick geotextile underlay is the only way to sleep soundly when the ground settles after a heavy frost.
Once the liner is down, don’t just pull it tight like a drum skin. You need to allow for some slack. If you tension it too much, the weight of the water will eventually pull it taut against sharp edges, causing a leak that’s a nightmare to fix. Instead, focus on your pond edge design by using heavy stones or timber to pin the perimeter. This creates a stable transition into the water, which is vital for creating habitats for amphibians that need to crawl in and out without getting stuck in a plastic lip.
Aquatic Plant Selection and Preventing Algae Growth
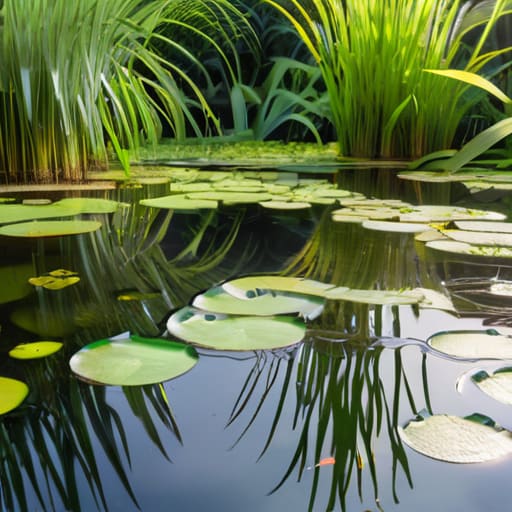
Once you’ve finished your pond liner installation and the structure is set, the temptation is to head straight to the garden centre and buy everything that looks green and lush. Resist that. A healthy natural pond ecosystem isn’t built on aesthetics; it’s built on balance. I’ve spent years observing how different species interact with water margins, and the key to successful aquatic plant selection is layering. You need oxygenators tucked deep down to keep the water moving, floating plants to shade the surface, and marginals at the edge to provide cover. If you skip the oxygenators, you’re essentially inviting a nutrient spike that will turn your clear water into pea soup within a month.
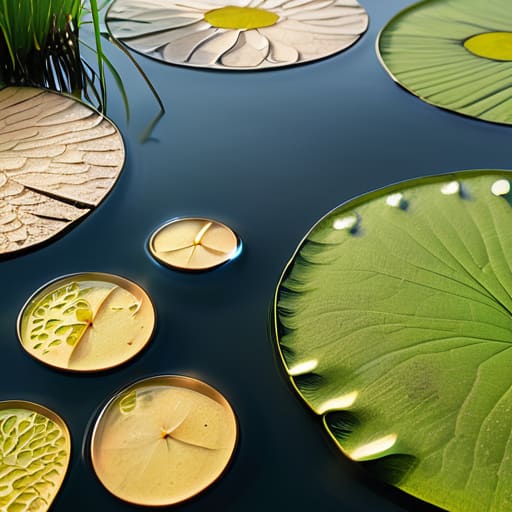
This brings us to the headache everyone dreads: preventing algae growth. Most people think they need expensive, mechanical pond filtration systems, but in a small wildlife pond, those often do more harm than good by disrupting the natural cycle. Instead, use plants as your primary filter. By heavily shading the water with lilies or similar floating foliage, you starve the algae of the light it needs to bloom. It’s a slower process than plugging in a pump, but it’s far more stable. If you manage the light and the nutrients through plant density, the water stays clear without you constantly fighting a losing battle against the green.
Five things that actually matter when the water starts to settle
- Don’t skip the sloping edges; if you just dig a deep, vertical hole, you’ve built a bathtub, not a habitat, and you’ll lose every amphibian that tries to climb out. You need shallow margins—gentle, stepped levels—so a hedgehog or a toad isn’t one slip away from drowning.
- Watch your placement relative to the trees. I’ve seen too many people dig a beautiful pond right under a massive willow or oak, only to spend the next five years skimming fallen leaves and organic muck out of the water every single week. It’ll turn into a compost heap faster than you can say ‘eutrophication.’
- Forget the fancy, expensive pumps you see in shop windows. A real wildlife pond needs stillness and natural filtration. If you’re constantly churning the water with a motor, you’ll disrupt the very micro-habitats you’re trying to build, and you’ll likely end up with nothing but a cloud of suspended silt.
- Be careful with the “clean” look. I know it’s tempting to want a pristine, crystal-clear pool, but a bit of murky water and some decaying leaf litter is exactly what the invertebrates need to get started. If it’s too clean, it’s sterile, and nothing will move in.
- Think about the perimeter before you even pick up a spade. If you’re building this on a patch of ground that drains like a sieve or sits in a constant runoff from a neighbor’s driveway, you’re fighting a losing battle against silt and chemicals from the start. Pick the spot where the ground stays stable, even when the rain is horizontal.
The Cost of Being Too Optimistic
I’ve spent twenty years watching people underestimate how much a landscape changes once you start digging; you can’t just plan for a sunny afternoon in May and expect the same garden to hold up when the autumn rains turn your site into a bog, so build for the worst weather you can imagine, not the best.
Bridget Halloran
The Long Game of a Living Pond
Building a pond isn’t a weekend project you simply finish and walk away from; it is an exercise in patience and observation. You’ve done the hard work of digging the profile, securing the liner without those expensive tears, and selecting plants that won’t turn the whole thing into a green, stagnant mess. But remember, the real work begins once the water settles. You need to monitor the silt levels, check that your filtration isn’t choking on organic debris, and ensure your plant selection is actually doing its job of buffering the pH. If you’ve followed the steps correctly, you haven’t just built a feature in your garden; you have established a functional ecosystem that requires your attention more than your constant interference.
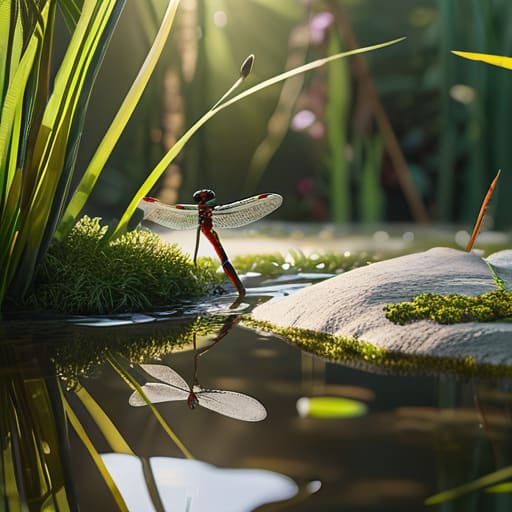
There will be days when the water looks murky or the dragonfly population seems non-existent, and in those moments, you’ll be tempted to over-correct with chemicals or heavy cleaning. Resist that urge. Nature moves at its own pace, often much slower than our own desire for immediate results. If you have provided the right structure and the right shelter, the wildlife will find you. There is a specific, quiet sort of satisfaction in sitting by the edge at dusk and seeing a life cycle you helped facilitate unfold right in front of you. It is about playing the long game and trusting that the environment you’ve carefully prepared will eventually find its own balance.
Frequently Asked Questions
How do I stop the pond from becoming a stagnant, mosquito-ridden mess if the water isn't moving?
If you can’t have a pump, you have to manage the biology. Stagnation happens when oxygen levels drop and organic muck builds up. I’ve seen garden ponds turn into sludge traps because people overfeed or under-plant. Use plenty of floating plants like water lilies to shade the surface; it keeps the water temperature down and limits the light that algae needs to bloom. Also, don’t skip the marginal plants—they act as natural filters, pulling nutrients out of the water before they can feed a mosquito nursery.
Is it better to dig a pond in a sunny spot or somewhere shaded to keep the temperature stable for the wildlife?
Don’t aim for a perfect middle ground that doesn’t exist. If you put it in full sun, you’re inviting an algae bloom that’ll turn your pond into pea soup by July. If it’s too shaded, the water stays cold and the plants struggle. I’ve seen better results with a spot that gets morning sun but stays shaded from the heavy afternoon heat. It keeps the temperature from swinging wildly, which is what actually keeps the life in it.
What happens if I dig the pond in a part of the garden that's prone to heavy runoff after a storm?
If you dig in a runoff zone, you aren’t building a pond; you’re building a silt trap. After the first heavy downpour, that sediment will wash straight in, smothering your liner and choking out any plants you’ve bothered to settle. I’ve seen garden ponds turn into muddy pits in a single season because someone ignored the slope. If you can’t move the site, you’ll need a heavy-duty bog filter or a substantial perimeter bund to divert the flow.