I remember a Tuesday in late October, somewhere on the edge of the Cairngorms, when the wind wasn’t just blowing—it was screaming through the heather, trying to peel us right off the slope. I was leading a group that had spent all day chasing a perfect view, only to realize they’d ignored the thickening mist and the way the light was bruising into a deep, sickly purple. They weren’t looking for a lecture; they were looking for a way to get home without someone twisting an ankle or losing a boot in a peat hag. Most people think learning how to descend safely is about having the most expensive trekking poles or a fancy GPS app, but they’re wrong. It’s actually about managing your own momentum and knowing when your ego is starting to outweigh your common sense.
I’m not here to sell you on high-tech gadgets or complicated survivalist theories that fall apart when you’re shivering in the dark. Instead, I’m going to give you the unvarnished truth about what actually matters when the terrain gets steep and the energy levels drop. We’ll talk about the boring, vital details—the way you pace your steps, how to read the fatigue in your knees, and why your descent plan needs to be finalized long before you actually start heading down.
Table of Contents
Weight Distribution While Descending Avoiding the Sudden Slip
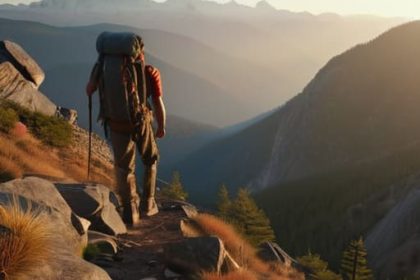
When you’re heading down, your pack stops being a comfort and starts being a pendulum. I’ve seen too many people, especially when they’re tired and the light is failing, let their center of gravity drift too far behind their heels. The moment that happens, you aren’t walking anymore; you’re just waiting to fall. To maintain control, you need to keep your weight slightly forward, over the mid-foot. It’s a bit like downhill skiing posture in that you want your core engaged and your weight centered, rather than leaning back and bracing against the slope with your knees.
I’ve carried the Osprey Talon 33 for about four years now, mostly on wet, technical scrambles in the Lake District, and I’ve learned that if the load isn’t high and tight against your spine, you’re asking for trouble on a scree slope. If you feel yourself wobbling, lean into the descent. I also cannot stress the proper use of trekking poles enough; they aren’t just for uphill momentum. On the way down, they act as your outriggers, providing two extra points of contact to help with protecting joints during descent and preventing that sudden, knee-buckling slip that ends a trip early.
Proper Use of Trekking Poles to Manage Fatigue
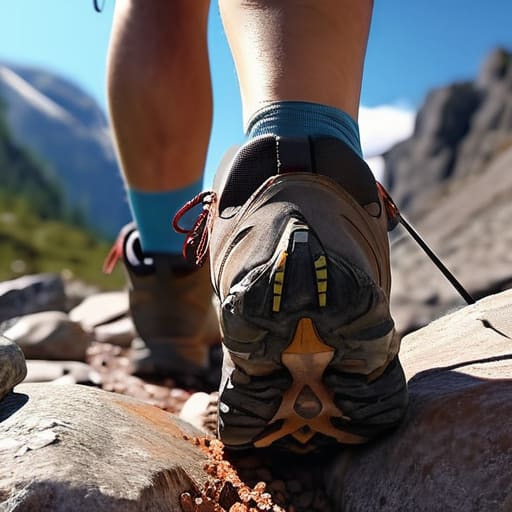
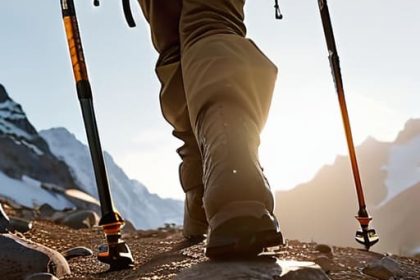
By the time you hit the final three kilometers of a long descent, your quadriceps aren’t just tired; they’re vibrating. This is when most people start “braking” with their knees, catching themselves in a jarring, heavy-footed stomp that sends a shockwave straight into the joint. To avoid this, I treat the proper use of trekking poles as a way to turn a two-legged descent into a four-legged one. I’ve used my Black Diamond trekking poles through roughly 400 days of varied terrain—from muddy Lakeland scrambles to dry, loose scree in the Highlands—and they are non-negotiable for protecting joints during descent.
The technique isn’t just about poking the ground; it’s about posture. You want to mimic a bit of a downhill skiing posture, keeping your center of gravity slightly forward rather than leaning back on your heels. Leaning back is a reflex when you’re scared of slipping, but it actually makes you less stable and puts more shear force on your patella. Keep your poles slightly wider than your feet, planting them firmly ahead of you to take the brunt of the impact. It’s about distributing the load away from your knees and into your core and arms before the fatigue makes you sloppy.
The Small Details That Keep Your Knees and Ankles Intact
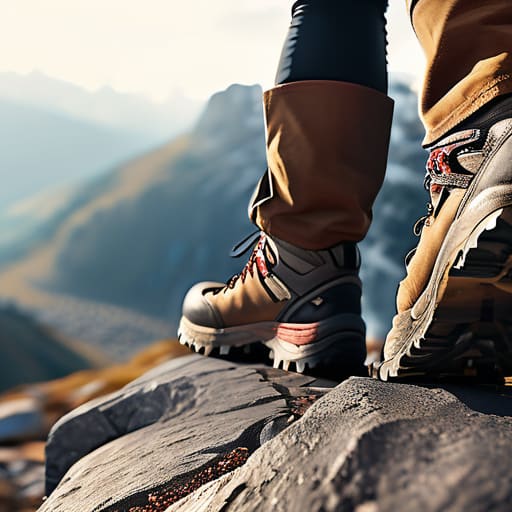
- Watch your step, not just your path. It’s easy to get tunnel vision on the summit or the descent route itself, but you need to be looking two steps ahead for loose scree or that one mossy rock that looks solid but isn’t. I’ve seen too many people stare at their feet and walk straight into a trip hazard they didn’t see coming.
- Manage your momentum. When you feel that slide starting, your instinct is to stiffen up or lunge forward, but that’s how you end up with a twisted ankle. Keep your knees slightly bent—think of them as shock absorbers—and keep your centre of gravity low and over your feet.
- Respect the fatigue factor. By the time you’re descending, your stabilizer muscles are already shot. This is when the “optimistic decisions” happen. If your legs feel like jelly, shorten your stride and slow down. I’d rather take an extra forty minutes to get down safely than spend three hours in a rescue helicopter because someone tried to power through a steep descent on tired legs.
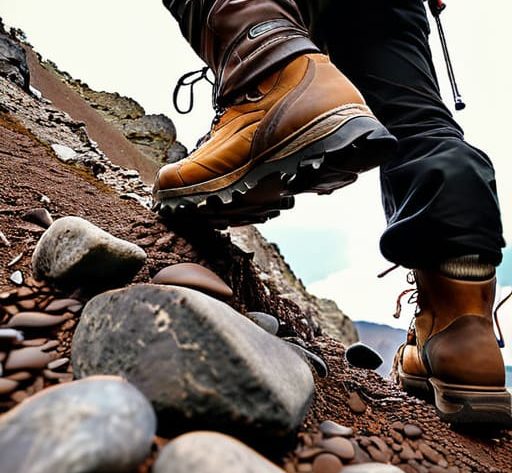
- Check your laces before the descent starts. I’ve been doing this for twenty-two years, and I still see people heading down steep terrain in boots that are too loose. If your foot is sliding forward inside the boot, you’re going to lose a toenail or lose your balance. Tighten them up specifically for the downward slope to lock your heel in place.
- Read the light, not the map. The descent often takes longer than you think it will, especially if the terrain is technical or the weather is turning. If the light starts to fail, you aren’t “almost there”—you are entering a much more dangerous phase of the walk. Start your descent with enough daylight to see the texture of the ground, not just the outline of the mountain.
The Trap of the Final Mile
Most people think the descent is just the easy part on the way home, but that’s when the mistakes happen; your legs are heavy, your focus is already on the pub or the car, and that’s exactly when a single patch of loose scree or a bit of wet moss decides your day is over.
Bridget Halloran
The Descent is the Real Test
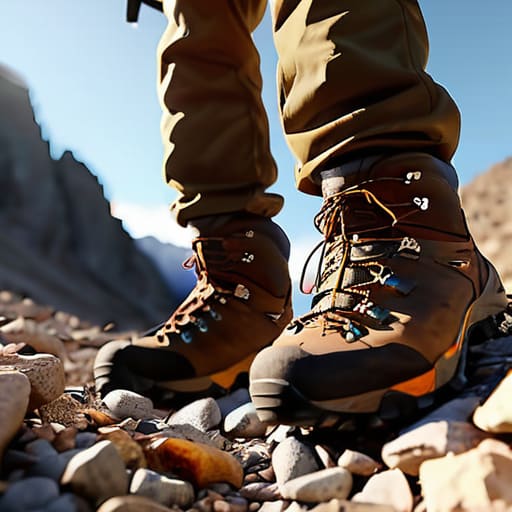
At the end of the day, a safe descent isn’t about one grand gesture; it’s the accumulation of small, disciplined choices. It is about managing your center of gravity so you aren’t fighting your pack on every loose scree slope, and using your poles to offload the sheer mechanical stress on your knees before the fatigue turns your legs to jelly. Most importantly, it is about respecting the clock. You can have the best boots and the most expensive poles in the world, but if you ignore the diminishing light or push through exhaustion just to reach a specific waypoint, you are simply inviting a mistake. The descent begins the moment you decide to stop climbing, and every step down should be treated with the same tactical focus as the ascent.
I have spent twenty-two years watching people finish the hardest part of a mountain only to stumble in the final mile because they felt they had “earned” the right to relax. The mountain doesn’t care about your summit photo or how many miles you’ve logged today; it only cares about the physics of your next step. True competence in the hills isn’t found in the adrenaline of the peak, but in the quiet discipline of getting home in one piece. So, watch your footing, mind your weight, and never let optimism override your common sense. The best view is always the one you see from the safety of your own front door.
Frequently Asked Questions
How do I know when my knees are actually reaching their limit before a slip happens?
It isn’t a sharp pain; it’s a loss of precision. You’ll feel it in the micro-adjustments. Your brain starts sending signals to your quads to fire harder just to keep your gait steady, and suddenly, your foot placement feels “mushy” rather than planted. If you find yourself looking at every single step instead of the line ahead, or if your stride is shortening to avoid impact, your stability is gone. That’s your limit. Turn back or slow down.
Is there a specific way to adjust my boot laces for the descent without losing support?
I’ve spent twenty years watching people slip because their toes were slamming into the front of their boots. If you’re descending, you need to loosen the tension across the top of your foot to prevent that bruising, but—and this is the bit people miss—you must keep the ankle lockdown tight. I always do a “heel lock” tweak: loosen the midfoot, but keep those bottom two eyelets snug. I’ve used this method on every descent since 2014, even in heavy mud.
What should I do if the weather turns and the descent path becomes a stream or a mudslide?
If the path turns into a sluice, stop. Don’t try to power through it. I’ve spent too many afternoons watching people lose their footing because they were rushing to beat the light. If it’s a stream, find the widest, shallowest point—don’t test depth with your feet, use your poles. If it’s mud, shorten your stride and keep your weight centered. If the ground is moving, you turn around. No summit or view is worth a broken tibia.