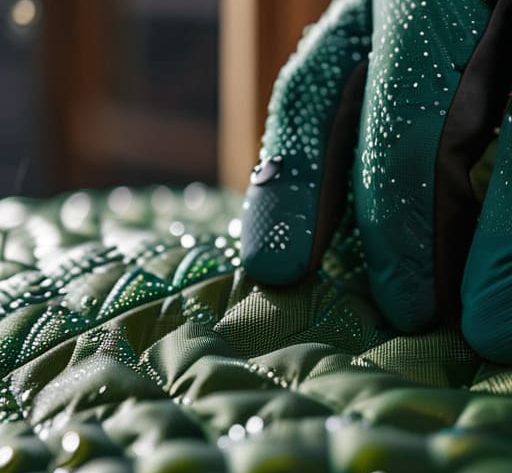
I was halfway up a scramble in the Cairngorms last October, caught in a sudden, sideways sleet that turned the granite into a skating rink, when I realized my shell had completely given up. It wasn’t that the fabric had failed; it was that the water was no longer beading on the surface, but instead soaking straight into the face cloth and making the whole garment feel like a heavy, cold sponge. Most people think a jacket is “broken” when this happens, but the reality is much simpler: you’ve just neglected the DWR. Learning how to reproof a waterproof jacket isn’t some complex scientific endeavor, but it is the difference between staying dry on a ridge and shivering in a damp bivvy bag because you made an optimistic decision about the weather.
In this guide, I’m stripping away the marketing fluff to give you a practical, no-nonsense approach to maintenance. I’ll walk you through the specific cleaners and sprays I’ve used over the last fifteen years of mountain leading, explaining exactly which methods work for different membrane types and which ones are a waste of your time. We’ll cover everything from the initial wash to the heat application required to reset that surface tension, ensuring your kit is actually ready for the next time the forecast turns foul.
Table of Contents
- Step-by-Step Instructions
- Cleaning Technical Outerwear Why Dirt Kills Breathability of Waterproof Clo
- How to Reactivate Dwr Coating and Choose the Best Reproofing Spray
- Five things I’ve learned from watching gear fail when it matters
- The Cost of an Optimistic Forecast
- The Final Check Before the Next Ascent
- Frequently Asked Questions
Guide Overview
Tools & Supplies
- Washing machine (to clean the jacket first)
- Clothes dryer (to activate the DWR coating)
- Spray bottle (optional, for even application)
- Waterproofing treatment (1 bottle/can)
- Mild technical wash (1 small bottle)
Step-by-Step Instructions
- 1. First, you need to actually clean the thing. I’ve spent too many days watching people try to reproof a jacket that was still caked in dried mud and salt from sweat; the DWR (Durable Water Repellent) won’t bond to a layer of grime. Use a technical wash—not your standard supermarket detergent, which leaves residues that destroy breathability—and wash it in a machine on a gentle cycle if the care label allows. I’ve used Nikwax Tech Wash for about ten years now on every piece of Gore-Tex I’ve owned, and it’s the only way to ensure the membrane is actually clear of debris.
- 2. Once the wash is done, check the fabric closely. You’re looking for areas where the water isn’t beading anymore, but instead soaking into the face fabric. This usually happens at the shoulders, where your pack straps rub, or around the cuffs. If you see “wetting out”—where the fabric looks dark and heavy with moisture—that is your clear signal that the chemical treatment has failed and it’s time to move to the next step.
- 3. Now, choose your method: spray-on or wash-in. If your jacket has a fleece lining or a breathable membrane that you don’t want to saturate, a spray-on treatment is your best bet. I’ve used the spray-on versions of Nikwax and Grangers during quick turnaround times between trips, and they are much better for preserving the internal structure of the jacket. If the jacket is a simple shell without a complex lining, a wash-in treatment is more thorough because it ensures every single fibre is coated.
- 4. If you are using a spray, hang the jacket on a sturdy hanger in a well-ventilated area. Apply the treatment from about six inches away, making sure you hit the high-wear areas like the shoulders, elbows, and hood. Don’t be stingy, but don’t soak it so much that it’s dripping onto the floor; you want an even, consistent coat that covers the entire outer surface.
- 5. For the wash-in method, simply add the reproofing agent to the machine along with your technical wash. It’s a straightforward process, but you must follow the temperature instructions on the bottle exactly. I once ignored the temperature guide on a cheap reproofer and ended up with a jacket that felt stiff as a board, so read the label before you start the cycle.
- 6. The most important part—and the one most people skip because they want to get back out there—is the heat activation. Most modern DWR treatments require a bit of warmth to “set” the chemicals into the fabric. Check your care label to see if you can tumble dry on low. I’ve found that a low-heat tumble dry for about twenty minutes is often the difference between a jacket that beads water for a week and one that lasts for a whole season.
- 7. Finally, do a field test before you head out on a long route. Find a tap or wait for a bit of drizzle and splash some water on the shoulders. If it beads up and rolls off like mercury, you’re good to go. If it soaks in and turns the fabric dark, you haven’t done enough, and you’ll be sitting in a damp shell halfway up a ridge before you even realize the mistake.
Cleaning Technical Outerwear Why Dirt Kills Breathability of Waterproof Clo
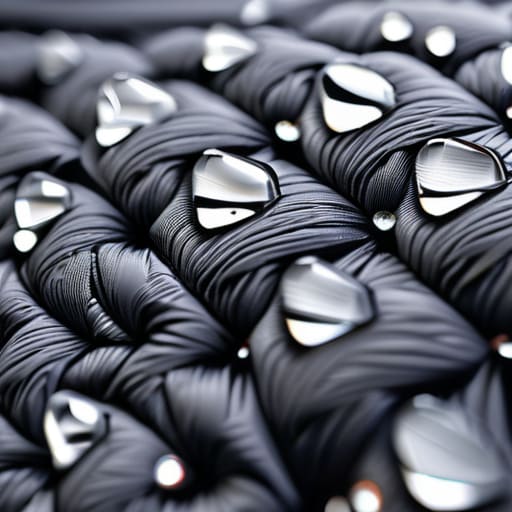
Most people think a jacket fails because the membrane has perished, but usually, it’s just choked by salt, sweat, and fine grit. I’ve spent many a damp afternoon on the scree slopes watching people shiver in gear that should still be working, only to realize their layers are effectively sealed shut by grime. When oils from your skin and dirt from the trail sit on the surface, they clog the pores of the fabric. This is the fastest way to ruin the breathability of waterproof clothing; instead of moisture escaping, you end up sitting in a personal microclimate of your own perspiration.
If you don’t prioritize cleaning technical outerwear before you even think about applying a treatment, you’re just sealing the filth into the fibers. I’ve used the Nikwax Tech Wash for over a decade, through countless seasons of muddy valley walks and heavy mist, and it’s the only way to ensure you aren’t just layering a fresh coat of chemicals over a layer of sludge. You cannot effectively reactivate a DWR coating if there is a film of body oil blocking the way. Clean it properly first, or you’ll find yourself soaking through within an hour of hitting the ridge.
How to Reactivate Dwr Coating and Choose the Best Reproofing Spray

Before you go buying a can of spray, you need to understand that most modern technical shells don’t actually “absorb” water; the membrane does the heavy lifting, while the DWR (Durable Water Repellent) sits on the surface to make water bead off. If your jacket is already soaked through, a spray won’t help. You first need to learn how to reactivate DWR coating using heat. I’ve used my Montane hardshell through three seasons of heavy Lakeland rain, and I’ve found that a quick tumble in the dryer on low heat—provided the care label allows it—is often the only way to get those droplets dancing again. It essentially “resets” the polymer chains that have flattened out from dirt and wear.
When it comes to choosing the best reproofing spray for outdoor gear, skip the cheap supermarket versions. I’ve tested several silicone-based sprays over the last five years, and they often clog the pores of the fabric, which absolutely ruins the breathability of waterproof clothing. Look for a high-quality PFC-free spray designed specifically for technical membranes. If you are working with a traditional waxed cotton jacket, forget the sprays entirely; you’ll need impregnating wax for jackets instead. One method doesn’t fit all, and using the wrong one is a fast way to end up sweating in your own moisture.
Five things I’ve learned from watching gear fail when it matters

- Don’t skip the wash; I’ve seen people try to spray DWR over a layer of salt and dried mud, and it’s a complete waste of time. The treatment won’t bond to the fabric if there’s a barrier of grime in the way, so get it clean in a proper technical wash first.
- Check your zippers and seam tape while you’re at it. If you’re already taking the time to strip the jacket down for reproofing, look closely at the seams; if the tape is starting to peel or crack, no amount of spray is going to stop that wind chill from cutting right through you.
- Heat is your best friend, but only if you use it right. I’ve used the Nikwax wash-in treatments for about five seasons now in heavy rain, but for sprays, a quick tumble in the dryer on low heat—if the care label actually allows it—is what really wakes up those polymer molecules and makes the water bead again.
- Avoid the “more is better” trap. I’ve seen hikers soak a jacket in reproofing spray until it’s heavy and sodden, but you’re just adding unnecessary weight and potentially clogging the pores of the membrane; apply it evenly, let the excess drip off, and stop once it’s coated.
- Test it in a controlled environment, not on a ridge. Before you pack that jacket into your bag for a multi-day trek, throw some water on it in the garden. If it doesn’t bead off immediately, you haven’t done the job properly, and you don’t want to find that out when the temperature drops at 3,000 feet.
The Cost of an Optimistic Forecast
I’ve seen too many people standing on a ridge in a sudden sleet storm, shivering because they thought their jacket was ‘waterproof enough,’ only to realize the water isn’t bouncing off the fabric—it’s soaking straight through the weave. If you wait until you’re already wet to realize your DWR has failed, you’ve already lost the battle; reproofing isn’t a chore for when things go wrong, it’s the only way to make sure they don’t.
Bridget Halloran
The Final Check Before the Next Ascent

At the end of the day, maintaining your gear isn’t about being precious; it’s about being prepared. If you’ve followed the steps—cleaning out the grit that chokes the membrane, choosing a spray that actually works with your specific fabric, and applying heat to set that DWR—you’ve done the work. I’ve spent fifteen years watching people struggle through a descent in a jacket that’s effectively acting like a sponge because they skipped the cleaning stage. Remember, a well-maintained jacket is a piece of safety equipment, not just a bit of clothing. Don’t wait until you’re shivering on a ridge in the Lake District to realize your DWR has failed; test the water bead in your garden or your hallway before you pack it into your rucksack for a multi-day trek.
There is a specific kind of peace that comes with knowing your kit is sorted. When the wind picks up and the clouds drop low, you shouldn’t be thinking about your gear; you should be watching the horizon or looking for a peregrine falcon tucked into a crag. When you take the time to care for your layers, you remove one more variable from an already unpredictable environment. It allows you to focus on the mountain, rather than the dampness creeping down your spine. Respect the weather, respect your gear, and you’ll find the hills are much more welcoming when you’re actually dry.
Frequently Asked Questions
Can I just use a standard washing machine detergent to clean it, or will that ruin the membrane?
Absolutely not. I’ve seen enough people ruin expensive shells because they thought “clean is clean.” Standard detergents are designed to break down oils and dirt, which is exactly what you don’t want near a technical membrane. They leave behind microscopic residues that clog the pores, killing your breathability instantly. I’ve used Nikwax Tech Wash for over fifteen years in every condition from damp valleys to freezing summits; it’s the only way to ensure you aren’t trapping sweat inside your own jacket.
If I don't have a tumble dryer to reactivate the DWR with heat, is there another way to get the water beads working again?
If you’re stuck without a tumble dryer, you can use an iron, but you have to be careful. Lay a clean, thin tea towel over the jacket—never touch the iron directly to the fabric or you’ll melt the membrane instantly. Set it to a medium, no-steam heat and move it constantly. It’s a bit fiddly, but that heat is what realigns the DWR polymers. If you can’t do that, just accept the jacket won’t bead perfectly.
How often do I actually need to do this—should I be reproofing every season or only when I notice the fabric soaking up water?
Don’t bother with a seasonal schedule; that’s just wasting good spray. I’ve spent too many hours watching people ruin gear by over-treating it. Instead, use the “beading test.” If you’re caught in a steady drizzle and the water starts soaking into the face fabric rather than rolling off in beads, your DWR has failed. That is your cue. If the water is still dancing on the surface, leave it alone.