I once spent four hours in a sodden hollow near the Cairngorms, shivering in a downpour because I’d prioritized finding a flat spot over checking the wind direction. I thought I knew how to pitch a tent properly, but by midnight, the gale had turned my shelter into a flapping, water-logged bag of nylon that offered zero protection and even less sleep. It wasn’t the gear that failed me; it was the optimistic decision to ignore the terrain and the gusts. Most people treat pitching as a chore to be rushed through so they can get to the stove, but if you don’t respect the site before the first pole goes in, you’re just setting yourself up for a very long, very cold night.
In this guide, I’m stripping away the glossy manufacturer instructions to tell you how it actually works when the light is failing and the rain is horizontal. I’ll walk you through the specific, unglamorous details—from securing your guy lines against a real ridge wind to choosing a site that won’t become a puddle by dawn. This isn’t about perfection; it’s about survival and sanity in the hills.
Table of Contents
- Step-by-Step Instructions
- The Tent Footprint Importance Protecting Your Only Real Home
- Securing Tent Stakes in Different Soil and Avoiding Condensation
- Five things that will save your night (and your sanity)
- The Cost of Being Optimistic
- The Final Check Before the Light Fails
- Frequently Asked Questions
Guide Overview
Tools & Supplies
- Ground stakes (to secure the tent to the earth)
- Mallet or hammer (to drive stakes into hard ground)
- Tent body (1 unit)
- Rainfly (1 unit)
- Tent poles (1 set)
- Footprint or tarp (1 unit)
Step-by-Step Instructions
- 1. First, stop looking for the “perfect” flat spot and start looking for the safest one. I’ve spent too many nights watching people try to pitch on a slope because they wanted a view, only to wake up sliding toward the tent door or, worse, in a depression that becomes a puddle. Find a spot that is relatively level, but more importantly, check for overhead hazards. I don’t care how much you want to see the sunrise if you’re pitching directly under a dead branch or a heavy, snow-laden limb that could drop at any moment.
- 2. Once you’ve picked your ground, clear it of anything that could puncture your floor or bite through your sleep mat. I’m talking about sharp rocks, dried twigs, and even thick tufts of heather. I’ve seen more people wake up with a hole in their expensive tent floor than I have with actual injuries, and it’s almost always because they were too tired to spend three minutes clearing the site. Sweep the area thoroughly before you even touch the flysheet.
- 3. Lay out your groundsheet and inner tent, and if you’re in a windy area, orient the tent so the narrowest or most aerodynamic profile is facing the prevailing wind. I’ve used the Terra Nova Lakes tent in gale-force conditions on the Cairngorms for about four seasons now, and if you pitch the wide side of a tent into a ridge-line wind, you aren’t just fighting the fabric; you’re fighting physics. Get that orientation right before the poles go in, or you’ll be fighting a losing battle all night.
- 4. Assemble your poles and thread them through the sleeves or clip them to the intersections. Do this with deliberate, steady movements. I have seen far too many lightweight carbon poles snapped in half because someone was rushing in the dark and forced a pole into a sleeve at a bad angle. If the pole feels like it’s resisting, stop, check the alignment, and try again. It’s not a race against the sunset.
- 5. Get the structure up, but do not—I repeat, do not—tighten everything down immediately. Raise the poles, clip the inner tent to the frame, and get the shape established. You need to see how the tension is distributing across the structure before you commit to the final stakes. If you tension one side completely before the other is even standing, you risk warping the poles or creating a structural imbalance that will fail when the first gust hits.
- 6. Now comes the part most people treat as an afterthought: the staking. Drive your pegs in at a 45-degree angle pointing away from the tent. If you’re on soft ground or peat, you’ll need to go much deeper than you think. I’ve used MSR Groundhog pegs for nearly six years in everything from dry gritstone to boggy moorland, and they hold well, but they won’t do the work for you. If the peg feels loose, it is useless; keep driving it until it feels anchored to the earth itself.
- 7. Finally, tension the flysheet to create a clear gap between the inner tent and the outer layer. This isn’t just about aesthetics; it’s about managing condensation. If the flysheet is touching the inner tent, moisture will wick straight through, and you’ll wake up in a damp sleeping bag regardless of how much Gore-Tex you’re wearing. Pull the guy lines taut until the fabric is firm, but leave enough “give” so the tent can breathe and move slightly with the wind rather than snapping under the pressure.
The Tent Footprint Importance Protecting Your Only Real Home

I’ve seen too many people treat a footprint like an optional extra, something to leave in the car because it feels like “one more thing” to carry. But after twenty years of sleeping in everything from high-altitude bivvies to heavy canvas, I can tell you that the tent footprint importance cannot be overstated. It isn’t just about keeping the bottom of your expensive flysheet from getting shredded by granite; it’s your first line of defence against the damp. I’ve used my lightweight Silnylon footprint (140g) through three seasons of soaked Scottish peat and shale, and it’s the only reason my gear stays dry when the ground decides to turn into a sponge.
The trick is to ensure the footprint is tucked entirely underneath the tent body. If you leave any edges sticking out, you’re essentially creating a gutter that funnels rainwater directly under your sleeping mat. That’s a fast way to wake up in a cold, muddy puddle. A proper camping gear setup requires you to be meticulous about these small details before you even think about the guy lines. If the footprint is right, the floor stays dry, and you might actually get a decent night’s sleep.
Securing Tent Stakes in Different Soil and Avoiding Condensation
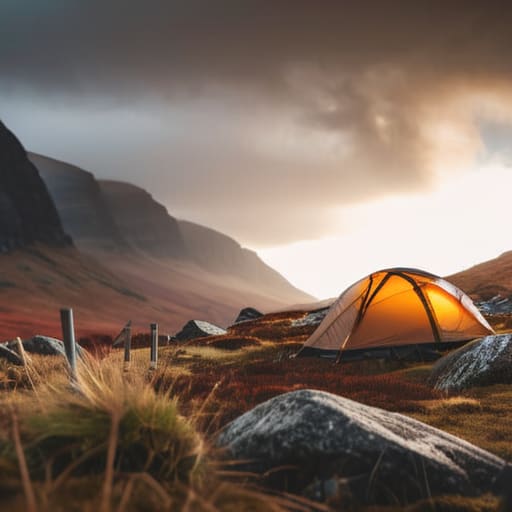
If you’re pitching on anything other than a manicured garden, your stakes are going to be your biggest headache. I’ve spent many a night wrestling with gear in the Cairngorms where the ground is either solid granite or a sponge of peat. If you’re in soft, loamy soil, don’t just hammer a stake in vertically; drive it in at a forty-five-degree angle pointing away from the tent to increase its grip. On harder, wind-swept ridges, I’ve found that a standard thin peg is useless. I’ve used the MSR Groundhog pegs for three seasons now in everything from loose scree to heavy clay, and they hold far better than the flimsy aluminum ones that come in most starter kits. If the ground is truly unforgiving, you might need to look into deadman anchors—burying a heavy rock or a log—to ensure you aren’t waking up at 2:00 AM to the sound of your shelter tumbling down the slope.
Once the structure is stable, you need to address the air. Avoiding condensation in tents isn’t just about comfort; it’s about preventing that damp, bone-chilling chill that settles into your sleeping bag. Most people make the mistake of sealing themselves in too tight. You have to keep the mesh layers breathing. I always make a point of properly tightening guy lines to pull the flysheet taut and away from the inner tent body. I’ve tested this over dozens of multi-day treks in high humidity, and that small gap of airflow makes the difference between a dry morning and waking up in a puddle of your own breath.
Five things that will save your night (and your sanity)
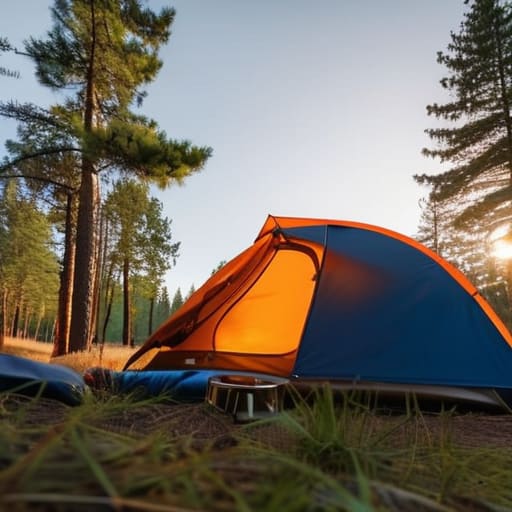
- Check the wind direction before you even unroll the flysheet. I’ve spent too many nights listening to a nylon sheet screaming like a banshee because I pitched the narrowest part of the tent facing a gale. Always aim the lowest, most aerodynamic profile into the wind; it’s much easier to sleep when the tent isn’t trying to take flight.
- Don’t trust a single peg in loose ground. I’ve used the lightweight DAC stakes that come with most modern lightweight tents for about three years now, mostly on rocky upland terrain, and they are fine—until you hit a patch of scree or soft peat. If the ground feels dodgy, use rocks to weigh down the corners or find a way to loop your guy lines around a solid feature. A single gust can turn a half-secured tent into a very expensive kite.
- Tension is everything, but don’t overdo it. You want the flysheet taut enough that it isn’t touching the inner tent—if it touches, you’re going to wake up damp from condensation—but don’t pull the guy lines so tight that you’re stressing the stitching. I’ve seen far too many seams fail in high winds because someone thought ‘tighter is better.’
- Pitch on the highest ground available, even if it’s just a few inches. It’s a mistake I see people make constantly when they’re tired and looking for a flat spot. If it rains—and in the places I lead, it usually does—that flat spot becomes a bowl. You don’t want to wake up at 2:00 AM feeling the cold seep in from a puddle forming under your sleeping mat.
- Clear the site of anything larger than a pebble. I’m talking about twigs, sharp stones, or even dried-up heather clumps. I’ve spent many a night feeling a sharp bit of grit through my sleeping pad, and it’s a miserable way to spend a mountain bivouac. Spend the extra two minutes clearing the ground; it’s much better than spending the next six hours trying to adjust your position.
The Cost of Being Optimistic
I’ve spent too many nights shivering in a collapsed heap of nylon because someone thought they could ‘make do’ with a loose guy line or a shallow stake. You don’t pitch a tent for the view or the convenience; you pitch it to create a microclimate that stands between you and a ridge-line gale, and that only happens if you respect the tension and the ground before the light fails.
Bridget Halloran
The Final Check Before the Light Fails
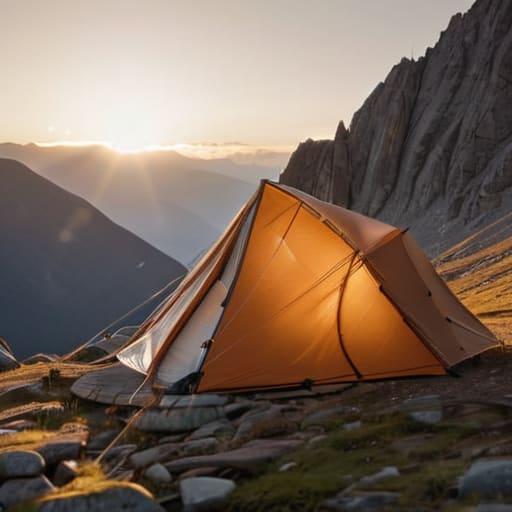
At the end of the day, pitching a tent isn’t about perfection; it’s about removing the variables that turn a minor gust into a crisis. You’ve laid down your footprint, you’ve driven those stakes deep enough to actually hold, and you’ve managed to tension the flysheet so it isn’t flapping like a flag in the wind. Remember that the small things—checking your guy lines and ensuring your vents are actually open—are the difference between a night of sleep and a night spent fighting a damp, collapsing heap of nylon. If you’ve done these things correctly, you aren’t just setting up a piece of kit; you are building a buffer against the mountain.
There is a specific kind of quiet that comes when you finally zip yourself in, the wind is howling outside, and you realize your shelter is actually doing exactly what it was designed to do. That sense of security is earned through the tedious work you did while your hands were cold and the light was fading. Don’t rush the process just because you’re tired. The mountain doesn’t care how much you want to get into your sleeping bag; it only cares if you’ve prepared for the reality of the terrain. Do the work now, so you can spend the rest of the night actually listening to the hills instead of worrying about your gear.
Frequently Asked Questions
What do I do if I arrive at the site and it’s already pitch black and pouring rain?
Stop. If it’s pitch black and the rain is horizontal, your priority isn’t a perfect pitch; it’s shelter and warmth. Don’t fumble with tiny pegs in the dark—you’ll lose them or snap a pole. Get the flysheet up as quickly and roughly as possible to create a dry microclimate. Once you’re inside, stop moving. Shivering uses energy you don’t have. Get your layers on, get in your bag, and deal with the structural details when the sun is up.
How do I know if the ground is actually too rocky or uneven to pitch on, even if it looks flat enough?
You can’t trust your eyes when you’re tired and the light is failing. I’ve spent many evenings kneeling in the scree, feeling for what the eyes miss. Use your hands. Run them over the patch; if you feel anything larger than a fist or a sharp edge that’ll bite through your footprint, move on. If the ground feels “springy” or uneven, it’s often just a layer of heather or debris over a hollow. Find the solid stuff.
If the wind is gusting heavily from one direction, should I orient the tent differently than the manual suggests?
Forget the manual’s generic diagrams. If you’re on a ridge and the wind is howling from the north, you point the smallest, lowest profile of the tent into that wind. I’ve spent fifteen years watching lightweight vestibules turn into sails because someone followed a pretty picture instead of the weather. Aim the narrowest end into the gusts and keep your heaviest gear inside to help anchor the structure. Don’t fight the wind; work with it.