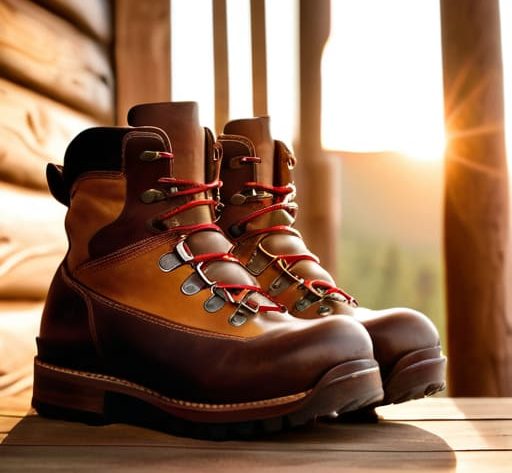
I once watched a group of hikers turn back three miles from their objective, not because the weather had turned or the terrain was too technical, but because two of them were nursing agonizing blisters from leather boots they’d decided to “test” for the first time on a steep ascent. There is this nonsense in the outdoor industry that you can just buy a high-end, stiff-soled boot and expect it to perform like a second skin immediately. It’s a lie. If you’re looking for a magic spray or a way to skip the process, you’re wasting your time; learning how to break in boots is a slow, sometimes boring necessity that requires patience, not a shortcut.
I’m not here to sell you on a specific brand or a fancy conditioning cream. What I will give you is the reality of what happens to leather and foam over the first fifty miles of use. I’ll tell you exactly how I’ve managed my own footwear through years of horizontal rain and heavy packs, and how you can avoid the kind of mistakes that end a trip prematurely. This isn’t about gear hype; it’s about making sure your equipment is an asset, not a liability, before you hit the ridge.
Table of Contents
Why Wearing Boots Around the House Is a Start
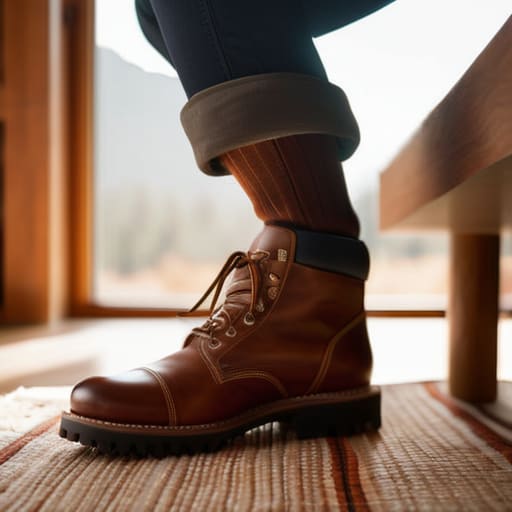
It sounds a bit ridiculous, I know. You’ve spent hundreds of pounds on a pair of high-end leather boots and your first instinct is to keep them pristine in the box. But if you want to avoid a day of misery on the hills, you need to start treating them like part of your daily wardrobe. Wearing boots around the house while you’re doing the washing up or reading the news is a low-stakes way to let the material begin to yield to your foot shape without the pressure of a ticking clock or a darkening sky.
The goal here isn’t to walk a marathon in your kitchen; it’s about preventing foot friction before you ever step onto a trail. By spending an hour or two each evening in them, you allow the stiffest parts of the upper to settle. I’ve found that pairing this with a few sets of thick wool socks—the heavy kind you actually intend to use on a ridge—makes a massive difference. It helps the boot learn the contours of your heel and instep in a controlled environment, so when you finally do hit the scree, the boots are already working with you rather than against you.
The Role of Thick Wool Socks in Preventing Foot Friction
If you’re relying on your boots to do all the work, you’ve already lost the battle. I’ve spent twenty years watching people walk into a mountain feeling confident, only to spend the afternoon hobbling because they underestimated the sheer physics of a foot moving inside a stiff shell. One of the most effective ways of preventing foot friction isn’t actually about the leather itself, but about managing the micro-climate and the buffer between your skin and the boot.
I always tell my clients to invest in high-quality thick wool socks—specifically a medium-weight merino blend. I’ve used the same pair of Darn Toughs for roughly four seasons now, through everything from damp Lakeland scrambles to dry, dusty traverses in the Pyrenees. Wool is essential because it manages moisture; once your skin gets damp from sweat, the friction increases exponentially, and that’s when the blisters arrive. A proper sock acts as a sacrificial layer, taking the heat and the rubbing so your heels don’t have to. Just remember: never test your footwear setup with thin cotton socks on a long day out. It’s a recipe for a very miserable descent.
Five Ways to Avoid a Blister-Induced Retreat
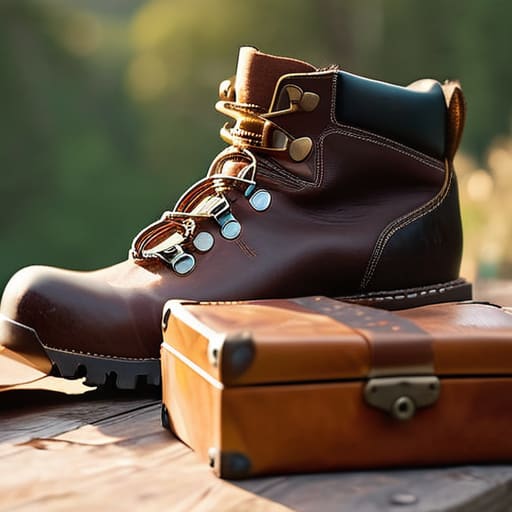
- Start with low-stakes terrain. I’ve seen too many people take a pair of stiff, unyielding leather boots straight to a technical scramble. Instead, take them on a flat, two-mile loop on a gravel path. You need to feel where the pressure points are before you’re halfway up a ridge with a heavy pack pulling at your ankles.
- Learn the language of your feet. If you feel a “hot spot”—that stinging, localized warmth that precedes a blister—do not try to “push through it.” That is the one optimistic decision that ends a trip. Stop, take the boot off, check the sock, and address the friction immediately.
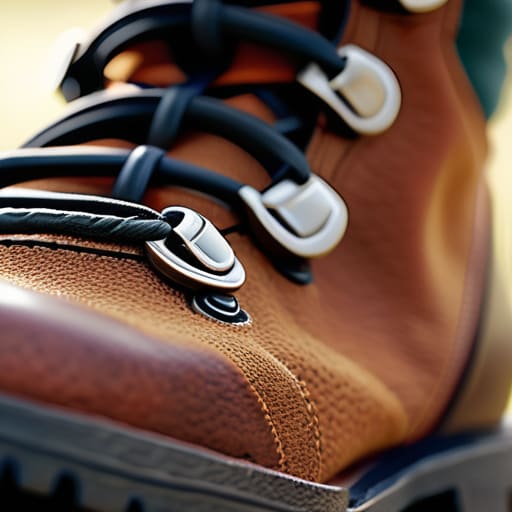
- Test your lacing patterns. Most boots come with a standard lace setup, but that isn’t a law. I’ve spent years tweaking my lacing to relieve pressure on the top of my foot or to lock my heel down when descending scree. Experiment with different tension levels on short walks so you know how to adjust them when the terrain gets steep.
- Don’t ignore the weight of your pack. A boot that feels fine during a stroll might become a torture device once you add fifteen kilos of gear. When you’re doing your break-in walks, gradually increase the weight in your rucksack. It changes how your foot slides and settles within the boot, and you need to know how those materials react under load.
- Respect the material. If you’re wearing heavy, full-grain leather, they will take time—sometimes weeks of consistent use—to soften. If you’re using modern synthetic hikers, they might feel better sooner, but they can still develop creases that bite into your toes. Treat the break-in period as a necessary part of the kit’s lifecycle, not an inconvenience to be bypassed.
The Cost of Optimism
I’ve seen too many people treat a brand-new pair of heavy leather boots like they’re ready for a weekend in the Cairngorms right out of the box. They aren’t. If you don’t spend the first few weeks putting in the miles on local, predictable terrain, you aren’t ‘breaking them in’—you’re just auditioning for a slow, painful descent back to the car because your feet have given up halfway up the ridge.
Bridget Halloran
The Reality of the Long Game
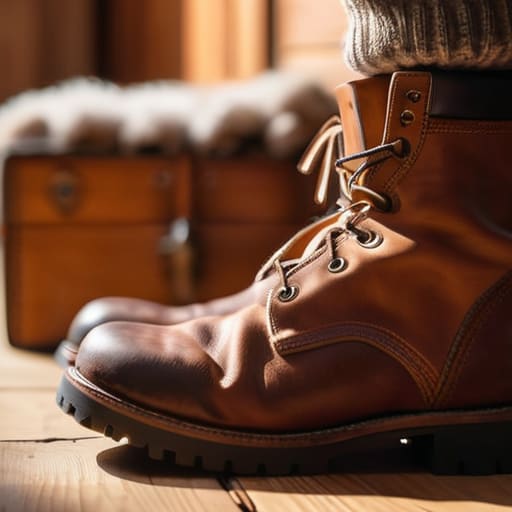
At the end of the day, breaking in boots isn’t about following a checklist; it’s about managing the interface between your skin and the gear. You’ve got to respect the process of wearing them around the house, testing the friction with proper wool socks, and gradually increasing your mileage on predictable terrain. Don’t make the mistake of thinking a bit of moleskin will save you if you try to tackle a multi-day ridge walk in unconditioned leather. If you listen to your feet early on—when the ache is just a dull pressure rather than a sharp sting—you’ll avoid the kind of injury that forces an early descent. Respect the break-in period, or your boots will eventually dictate where your journey ends.
There is a specific kind of satisfaction that comes from knowing your kit won’t fail you when the clouds drop and the temperature plunges. When you finally reach that point where you forget you’re even wearing them, you’ll know the work was worth it. I’ve spent twenty years watching people turn back because they were distracted by pain instead of the view, and I don’t want that for you. Get the boots right, take the time to let them settle, and then go find something worth walking for. The mountains aren’t going anywhere, and they’ll be much more welcoming once you’re properly prepared.
Frequently Asked Questions
How long should I actually wait between walks to avoid making a blister worse?
If you’ve got a hot spot or a full-blown blister, stop. I’ve seen too many people try to “walk it off” only to end up with a wound that won’t heal for a month. If it’s just a red, angry patch, give it 24 to 48 hours of rest. If the skin is broken, wait until it’s fully sealed. Don’t test it on a long ridge; wait until the pain is gone.
If I'm already feeling a hot spot halfway up a trail, is it better to push through or turn back immediately?
If you feel a hot spot, stop. Don’t “push through”—that’s how a minor irritation becomes a bloody, debilitating blister that ends your trip entirely. If you’re near the trailhead, turn back. If you’re mid-route, stop immediately, take the boot off, and assess. Apply tape or a blister pad while the skin is still intact. I’ve seen too many people lose a whole weekend because they were too stubborn to respect a bit of friction.
Does the type of terrain I use for breaking them in—like flat gravel versus rocky paths—actually change how the leather softens?
It does, but not in the way you might think. You aren’t trying to “soften” the leather so much as you are training your feet to accept the boot’s structure. Flat gravel is fine for finding the pressure points, but you need the unevenness of a rocky path to see how the midsole handles torsion. I’ve used my main pair of Meindls on everything from scree to boggy peat for five years; if you don’t encounter real terrain, you’ll miss the moment the boot fails to flex where your foot needs it to.