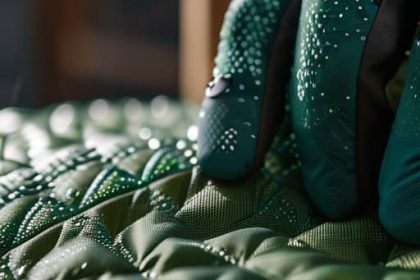
I was halfway up a scramble in the Cairngorms, soaked to the bone and shivering, when I heard that unmistakable, sickening rip of my hardshell giving way on a jagged piece of granite. It wasn’t a catastrophic tear, but in that wind, it was enough to turn a standard afternoon into a lesson in hypothermia. Most people think a snagged seam or a puncture means your expensive technical gear is headed straight for the bin, but that is a costly mistake. Knowing how to repair outdoor clothing isn’t about being a master tailor; it is about preventing a small mistake from becoming a survival situation when the weather decides to turn.
In this guide, I’m skipping the glossy marketing fluff and getting straight to the grit. I will show you exactly which patches and adhesives I have personally used over the last decade to keep my kit functional in horizontal rain and sub-zero temperatures. We will cover everything from field-fixes for nylon ripstops to the proper way to reseal a zipper, focusing on practical, lightweight solutions that actually hold up when the pressure is on.
Table of Contents
Guide Overview
Tools & Supplies
- Sewing needle [Assorted sizes for different fabric weights]
- Fabric scissors [Sharp blades for clean cuts]
- Thimble [To protect fingers during heavy stitching]
- Repair patches [2-4 adhesive or sew-on patches]
- Urethane adhesive [1 small tube for waterproof sealing]
- Polyester thread [1 spool of heavy-duty, color-matched thread]
- Gear Aid Tenacious Tape [1 roll for quick waterproof repairs]
Step-by-Step Instructions
- 1. First, you need to clean the area around the damage. I’ve seen people try to patch a hole in a hardshell while there’s still grit or salt from dried sweat embedded in the fabric, and it never holds. Use a damp cloth and a tiny bit of mild soap to wipe the site clean, then let it dry completely. If you’re out in the field, just make sure it’s as free of loose dirt as you can manage before you start.
- 2. Assess the scale of the disaster. If it’s a small snag or a puncture in a technical shell, a patch is your best friend. If you’re looking at a structural failure—like a seam that has completely unraveled on a heavy backpack or a jacket—a patch won’t save you when the wind picks up. For small holes, I recommend using a high-quality adhesive patch like Tenacious Tape. I’ve used rolls of this for at least six years through everything from sleet in the Cairngorms to summer heat in the Pyrenees, and it remains the gold standard for a quick fix.
- 3. Round off the corners of your patch. This is a small detail that most people skip, but it’s the difference between a repair that lasts and one that peels off in an hour. If you leave the edges square, they catch on everything—branches, straps, your own hands—and start to lift. Use a pair of scissors to trim the patch into a circle or an oval; rounded edges distribute the tension much more effectively and stay stuck much longer.
- 4. Apply the patch with heat and pressure. If you’re working in your living room, use the back of a metal spoon to rub the patch firmly against the fabric. The friction creates a small amount of warmth that helps the adhesive bond to the fibers. If you’re in a cold environment, you might need to apply significant pressure for a full minute to ensure there are no air bubbles trapped underneath, which are just invitations for moisture to seep in.
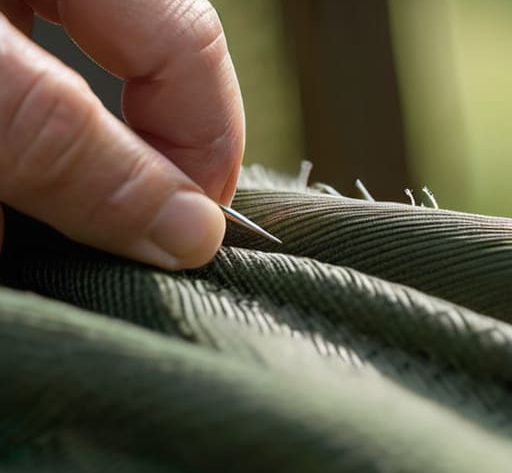
- 5. For tears in softshells or fleece, skip the tape and go for a needle and thread. I prefer a heavy-duty polyester thread over cotton every single time; cotton rots when it gets damp, and in my experience, damp gear is a constant. Use a small, tight whipstitch to close the gap. Don’t pull the thread so tight that you pucker the fabric, or you’ll just create a new weak point that will tear again the moment you shoulder your pack.
- 6. If you are dealing with a waterproof membrane that has been breached, you must re-seal the area. A patch might stop the wind, but if the fabric underneath is compromised, you’ll still feel the damp. For larger repairs on expensive shells, I’ve spent many evenings applying specialized seam sealer to the edges of a patch to ensure the repair is entirely airtight. It’s tedious work, but it’s better than shivering in a wet base layer because you were too impatient to do it right.
Mending Technical Outerwear Before the Next Storm Hits
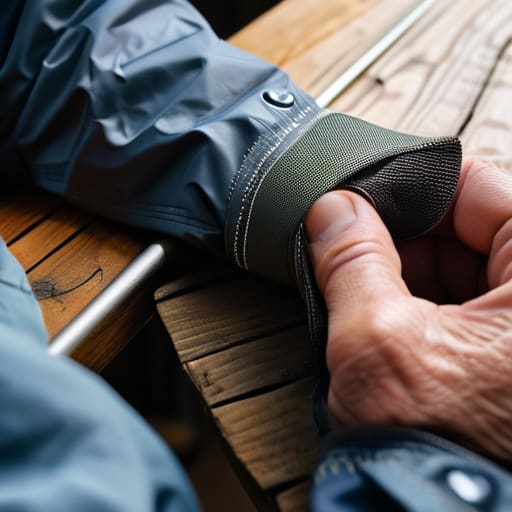
When you’re halfway up a ridge and the wind starts picking up, a small snag in your shell suddenly feels like a massive structural failure. I’ve spent too many afternoons watching a client shiver because a bramble caught their sleeve, turning a lightweight layer into a heavy, sodden mess. If you are mending technical outerwear, don’t just slap a bit of tape on it and hope for the best. For small punctures in high-denier shells, I rely on a dedicated waterproof fabric repair kit—specifically the ones with the adhesive patches. I’ve used the Gear Aid Tenacious Tape for at least five seasons now, through everything from sleet in the Cairngorms to heat in the Pyrenees, and it holds better than the factory bond in most cases.
The real danger, though, isn’t always the hole itself; it’s the compromised integrity of the seams. If you notice the internal tape starting to lift or crack, you need to address it immediately. Gore-Tex seam sealing isn’t something you should leave to chance once the weather turns. I’ve seen too many people ignore a peeling seam until they’re soaked to the bone in a valley with no way out. Take the time to re-seal it while you’re still in the dry, sitting by a warm stove, rather than waiting for the next storm to find the leak for you.
Fixing Torn Ripstop Nylon Without Losing Your Cool
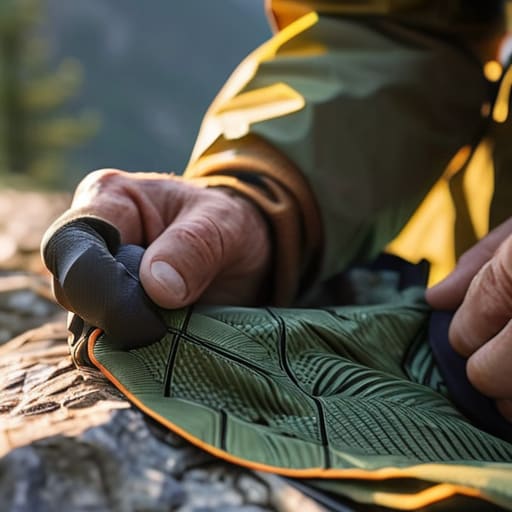
When you’re halfway through a traverse and catch a sharp bit of granite with your sleeve, the panic is usually worse than the actual hole. I’ve seen it a dozen times: someone spots a snag in their ripstop and immediately thinks the jacket is ruined. It isn’t. The trick to fixing torn ripstop nylon is to stop thinking about sewing and start thinking about surface area. If you try to stitch a hole in a lightweight shell, you’ll likely just create a row of new perforations that leak like a sieve.
Instead, reach for a dedicated waterproof fabric repair kit. I’ve used the Tenacious Tape patches on my own shell for over four years now, through everything from heavy sleet in the Cairngorms to the dry, abrasive grit of the Peak District. The key is cleaning the area with a bit of alcohol first; if there’s grit or salt in the weave, the adhesive won’t bite, and you’ll be peeling it off by morning. Round the corners of your patch with scissors—square edges catch on everything and will inevitably lift. It’s a small habit, but it makes the fix last until you’re back at the trailhead.
Five things I’ve learned from mending gear in the rain
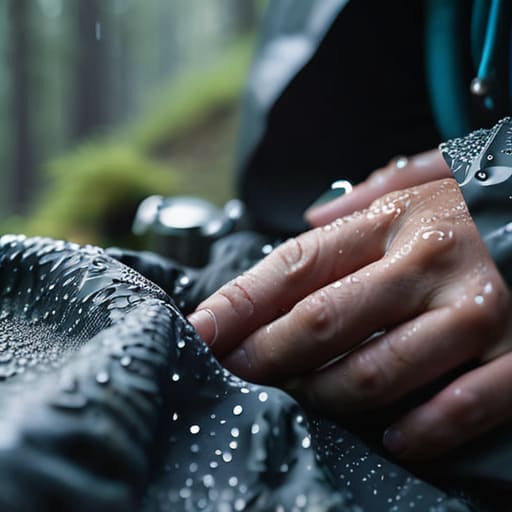
- Don’t wait for the seam to fail completely. I’ve spent too many evenings in mountain huts using gear tape because a small fray turned into a gaping hole under the pressure of a heavy pack strap. If you see the stitching pulling or the fabric thinning, fix it that night.
- Clean your repair area properly. I’ve seen people try to patch a shell only to have the adhesive peel off three miles up a ridge because they didn’t scrub the grit and salt out of the fabric first. Use a bit of isopropyl alcohol or even just warm soapy water and let it dry completely; if the surface isn’t clean, the repair isn’t permanent.
- Match your thread to the reality of the movement, not the look. For technical shells, I use a heavy-duty bonded nylon thread. I used a standard sewing kit on a pair of trekking trousers during a trip in the Cairngorms last year, and the thread snapped within two hours of heavy use because it wasn’t rated for the tension.
- Respect the DWR (Durable Water Repellent) after a repair. If you’ve patched a hole or sewn a seam, you’ve broken the water resistance in that spot. I always carry a small bottle of spray-on treatment to re-seal the area around the mend, otherwise, that patch becomes a dark, wet spot that pulls moisture straight into your mid-layers.
- Know when a repair is a death trap. I’ve seen people try to patch a shell that has become “tacky” or delaminated—where the membrane is peeling away from the face fabric. No amount of tape or stitching will fix a membrane that has chemically failed, and trying to rely on it in a storm is an optimistic decision you don’t want to make.
The Cost of Neglect
I’ve sat in too many damp tents watching people try to patch a gaping seam with whatever they could find in their pack; a five-minute repair in the dry is a chore, but a failed repair in a gale is a crisis.
Bridget Halloran
The Final Check
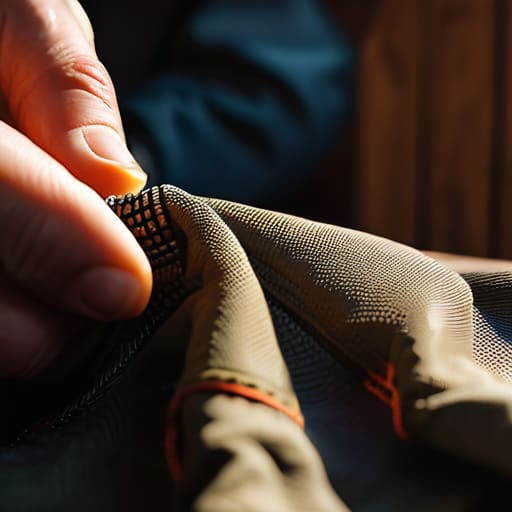
At the end of the day, gear repair isn’t about aesthetics or making a jacket look new; it is about maintaining the integrity of your protection. Whether you are applying a patch to ripstop nylon or resealing a seam that has started to weep, the goal is to ensure that your layers continue to do the one job they were designed for: keeping the elements out. I have spent many a night in a damp tent because I chose to ignore a small fray rather than taking twenty minutes to fix it properly. Remember that a well-maintained repair is always better than a brand-new piece of kit that you haven’t actually tested in a gale. Take the time to check your zippers, inspect your membranes, and patch those small snags before you find yourself halfway up a ridge with a sudden drop in temperature.
There is a certain quiet satisfaction in knowing exactly how much your gear can take because you’ve personally looked after it. Every patch and every stitch represents another season spent outdoors, another summit reached, and another lesson learned from the weather. Don’t let a bit of damaged fabric be the reason you turn back or, worse, the reason you stay out too long in conditions you aren’t prepared for. Treat your kit with the same respect you show the landscape, and it will likely keep you safe for years to come. The mountains don’t care if your shell has a patch on it, but you certainly should.
Frequently Asked Questions
If I’ve already patched a tear with adhesive, can I still use a needle and thread to reinforce it later?
You can, but don’t expect it to be pretty. I’ve used a needle and thread to reinforce an adhesive patch on a tent fly after a heavy gale in the Cairngorms, and it held, but the patch makes the fabric stiff. If you sew through the adhesive, you risk tearing the base material. If the patch is failing, strip it off, clean the area, and start fresh. Don’t rely on a double-fix when you’re mid-ridge.
How do I know when a repair is actually finished and it's safer to just retire the jacket?
If you’re looking at a repair and wondering if it’s enough, you’ve probably already hit the limit. I’ve seen patched shells fail mid-traverse because the fabric around the tear had become too degraded to hold the adhesive. If the base material is thinning, “shredding” near the seams, or if you’re patching the same spot for the third time this season, retire it. A jacket is a tool, not a sentimental heirloom; don’t let a failed repair turn a damp afternoon into a hypothermic crisis.
Will using a repair kit on a high-performance waterproof shell mess up the DWR coating around the patch?
It won’t mess up the DWR itself, but it will change how water behaves right at the edge of the patch. I’ve used Gear Aid patches on my main shell for three seasons of heavy mist and sleet; the adhesive is fine, but you’ll notice a slight “ring” where the water stops sheeting and starts soaking into the seam of the patch. It’s not a failure, it’s just physics. Just make sure the surface is bone-dry before applying.