I remember standing on a ridge in the Cairngorms back in 2014, watching a group of otherwise capable hikers stare blankly at their phones because they’d followed a straight line on a screen without once looking at the actual contour lines. They thought they knew how to plan a route on OS maps, but they hadn’t accounted for the sheer verticality of the terrain or the fact that a “shortcut” across a peat bog is actually a three-hour slog in knee-deep sludge. A digital line doesn’t tell you if you’re walking into a boulder field or a steep, ankle-breaking descent; it just tells you where you think you want to go.
I’m not here to sell you on some fancy, high-tech subscription or a complicated way to gamify your walking. I’m going to show you how to use the tools you actually have to look at the reality of the ground under your feet. We’ll talk about reading the contours, calculating your actual pace against the incline, and—most importantly—building in a buffer for the daylight you’ll inevitably lose when the weather turns. This isn’t about finding the shortest path; it’s about finding the one that gets you home before dark.
Table of Contents
Mastering Topographic Map Reading Before You Leave
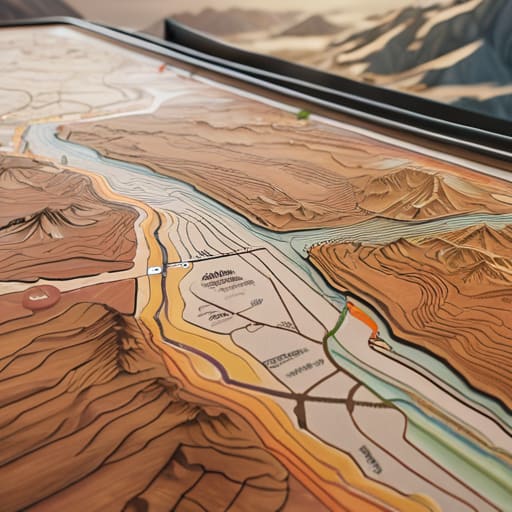
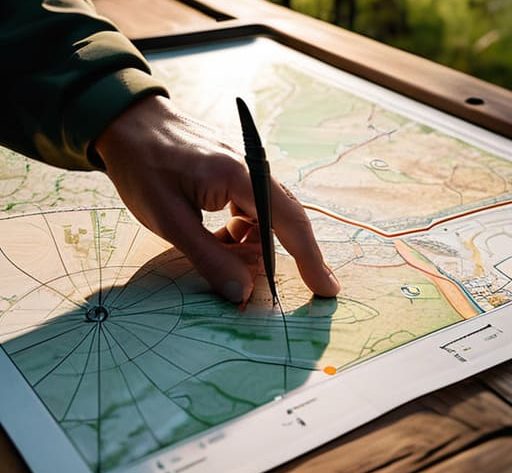
Before you even touch a screen, you need to understand what you’re actually looking at. I’ve seen too many people treat a digital map like a video game, zooming in and out without grasping the reality of the ground beneath them. Real topographic map reading isn’t just about seeing a line; it’s about interpreting the density of those contour lines. If they’re packed tight, you aren’t looking at a gentle stroll; you’re looking at a scramble that will drain your energy and eat your daylight before you’ve even reached the halfway mark.
Once you understand the terrain, you can start using the Ordnance Survey digital tools to build something sensible. I spent three days last November testing how the interface holds up when you’re trying to eyeball a descent in low visibility, and the key is to stop looking for the shortest distance. The shortest distance is almost always a straight line that ignores every cliff edge and bog in its path. Use the tools to build a route that accounts for the actual effort required, rather than just the mileage.
Using Ordnance Survey Digital Tools for Realistic Planning
Once you’ve got the basics of contour lines down, you need to move from the paper mental model to the actual tools. I’ve used the OS Maps mobile app features for about four years now, mostly for verifying my pre-planned routes when the mist rolls in and the visibility drops to ten metres. The benefit isn’t just having a screen in your hand; it’s the ability to layer satellite imagery over the topo data. I find this essential for checking if a “path” on the map is actually a boggy track or a scramble through heather, which can make or break your pace.
When you start creating custom walking routes on the desktop version, don’t just draw a line between two points. Use the profile tool to look at the cumulative ascent. I once led a group on a route that looked manageable on a screen, but the digital profile showed a series of sharp, unrelenting rises that we hadn’t accounted for in our timing. Always finish your planning by exporting GPX files for hiking onto your dedicated handheld device or watch. It gives you that extra layer of redundancy that keeps you from making an optimistic mistake when the daylight starts to fail.
Five ways to stop your route from becoming a survival situation
- Stop looking at the distance and start looking at the contours. A five-mile walk on a flat valley floor is a stroll; a five-mile walk that involves two thousand feet of ascent on scree is a different animal entirely. When you’re using the OS app, zoom in on those contour lines. If they’re packed tight together, you’re looking at a climb that will eat your energy and your daylight much faster than a straight line on a screen suggests.
- Factor in the “error margin” for your timing. I’ve spent too many evenings watching a group of people realize they’re two hours behind schedule because they didn’t account for a boggy section or a steep descent. When you plan your route, take your estimated time and add at least 20% for the things that always go wrong—the heavy rain, the wrong turn, or the moment you stop to watch a peregrine.
- Check the aspect of the slopes, not just the weather forecast. A forecast might say “sunny spells,” but if your route spends six hours in a deep, north-facing shadow in late October, you aren’t going to feel much sun. Use the map to see which way the hills are facing; it’ll dictate whether you’re walking into a wind that feels like a blowtorch or a damp chill that gets right into your bones.
- Identify your “bail-out” points before you set off. Every route needs a way out. As you’re tracing your line on the digital map, look for where the terrain drops away or where a path meets a road. If the weather turns or someone in your party starts showing signs of exhaustion, you need to know exactly which turn leads back to safety rather than deeper into the hills.
- Don’t trust the digital line to be the only truth. I’ve used the OS Maps app for over four years now, mostly in heavy rain and high winds when my hands are too cold for fine motor skills, and while it’s brilliant, it isn’t infallible. Always use your digital plan to cross-reference with the physical map in your pack. A GPS signal can drop or a battery can die, but a paper map doesn’t care about your signal strength.
The danger of a straight line
A digital line on a screen is a lie if it doesn’t account for the reality of the terrain; I’ve seen too many people plan a direct route on OS Maps only to find themselves fighting through waist-high bracken or losing two hours to a bog that the map simply couldn’t show them. Plan for the obstacles, not just the distance.
Bridget Halloran
The final check
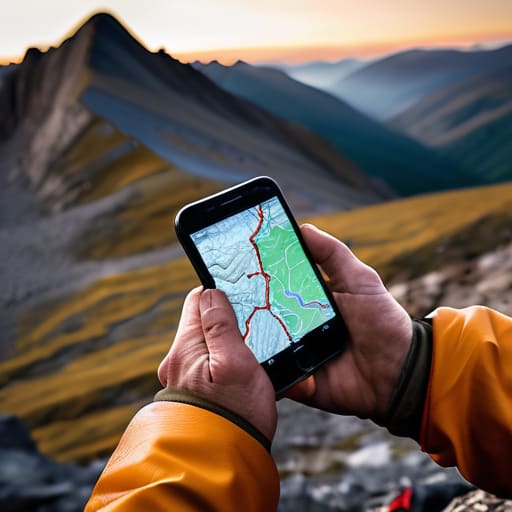
At the end of the day, OS Maps is just a tool, and no amount of digital zooming can replace the responsibility you hold once you step off the tarmac. You’ve looked at the contours, you’ve checked the scale, and you’ve hopefully accounted for the fact that a 5km walk on a flat trail is nothing like a 5km scramble up a scree slope. Remember that your plan needs to be dynamic; if the weather shifts or the daylight starts to fail, your digital map becomes a way to find the exit, not just the summit. Use the tools to build in a margin for error—always plan for more time than you think you need—because the map won’t tell you how much your legs will ache or how hard the wind is blowing when you’re halfway up a ridge.
There is a specific kind of quiet satisfaction that comes from knowing exactly where you are and exactly how to get home when things go sideways. It isn’t about being a master navigator; it’s about being prepared for the reality of the landscape rather than the version you saw on a sunny afternoon. When you finally stand on that ridge, knowing your route is sound and your descent is mapped, you can actually stop worrying about the logistics and start looking for the birds. The mountains are there to be experienced, but they are much easier to enjoy when you aren’t fighting a losing battle against your own optimism.
Frequently Asked Questions
How do I account for the actual time it takes to navigate tricky terrain versus just following a straight line on the screen?
Stop looking at the straight line between point A and B; that’s a fantasy. You need to account for “micro-navigation.” If the contour lines are hugging each other tight, you aren’t walking a flat path; you’re side-stepping or scrambling. I always add a 20% buffer for terrain complexity. I’ve seen too many groups lose two hours because they assumed a “straight” line through a peat bog or a scree slope would take the same time as a well-trodden path.
Is there a way to use the contour lines to predict how much energy I'll actually spend on a steep ascent?
You can’t calculate metabolic output from a map, but you can calculate the tax on your legs. Don’t just look at the lines; look at the density. When those contours bunch together, you aren’t just walking; you’re climbing. I’ve spent fifteen years watching people underestimate a “short” mile that’s actually 400 metres of vertical gain. If the lines are tight, plan for a slow pace and double your estimated time. Optimism is what leads to exhaustion.
How can I use the digital tools to cross-reference my route with the specific weather patterns I'm seeing in the forecast?
Don’t just look at the temperature; look at the wind speed and the cloud base. I use the OS Maps app to plot my line, then immediately switch to MWIS (Mountain Weather Information Service) to check the specific hill forecasts for that exact area. If the app shows a steep ascent on a ridge, and the forecast says gusts of 40mph, that route is off. Cross-reference the contour lines with the wind direction—it’s the difference between a brisk walk and a fight.